Hi! I just had to share with you a project I finally finished! My first niece was born over a year ago, and I still had yet to make a dress for her. Terrible auntie!
The good news is, I finally finished the dress, and I decided to have a photo shoot with the dress to practice taking photographs. I hope you enjoy them - and any tips would be greatly appreciated!
The finished dress! It is far from perfect, but it was made with a lot of love. :)
I tried to put some pretty embroidery along the collar.
I found these beautiful little rose buttons for the dress.
The bodice.
I love the little puffed sleaves.
The hem. It turned out a little weird, but hopefully my niece will like it.
Showing posts with label crafts. Show all posts
Feb 18, 2014
Feb 9, 2014
Make Your Own Tie Dye Tee Shirts - Spiral Design
If you have ever wanted to make a tie dye tee shirt but didn't because it seemed too complicated, this post is for you! I have been making my youngest brother tie dye tee shirts every Christmas for the past several years, and even though it is a bit time consuming, it is quite easy. Hopefully this tutorial will be a great help in getting you started!
Start with a plain colored tee shirt. Let it soak in a mixture of 1 cup soda ash (20 Mule Team Borax is the same thing) to 1 gallon water for up to 24 hours (the soda ash/borax helps the dye to "take" better). When you are ready to start dyeing, wring out the tee shirt and lay it out flat on your work surface - you want this to stay moist.
Next, decide where you want your spiral to begin. I usually like to start them in the middle of the shirt. Grab that area between two fingers and start to twist.
Keep twisting until the whole tee shirt has been wrapped around the one point.
Working your way around, evenly place six more rubber bands around the shirt.
Next, prepare your dyes. I use powdered dye that I buy from JoAnn Fabrics and mix it with distilled water.
Next, set up your station. I cover a cookie sheet with plastic wrap, get my dyes in place, have protective gloves, and the moistened tee shirt.
To get the pattern laid out correctly, I lay pencils out on the shirt in a six piece pie shape.
When you squeeze on the dye, it is important to make sure the dye gets down between the folds of material. Use your fingers to work through the folds and pleats while you squirt dye with the other hand.
Keep going around the circle, squeezing on your dye.
When I dye the red and blue colors, I try to not let the colors blend or it ends up looking muddy. But when I put out the red and yellow dyes, I try to allow those colors to blend a little. It ends up creating a great contrast on the finished tee shirt.
Then, flip over the tee shirt and repeat the process and appropriate colors on the other side of the shirt.
And - done! It is important to use enough dye but not too much. Not enough dye gives you too many white patches on the shirt, and too much dye will create a muddy colored tee shirt.
Next, carefully wrap the dyed tee shirt in a couple layers of plastic wrap and let the shirt sit in a cool dark place for 24 (or, if it is cool, even up to 48 hours).
After the time is up, remove the plastic wrap. See how the colors have really blended together?
Carefully cut the rubber bands.

Keep rinsing until you don't see much or any dye coming out.
Then, pop this shirt (and others if you have done more than one) into the wash and run it through a regular cycle.
Then - tada! Here are a few of the shirts I made during this session (I forgot to get pictures of the shirts I gave my brother, but they were great! I will have to try to get some photos at a later date).
Start with a plain colored tee shirt. Let it soak in a mixture of 1 cup soda ash (20 Mule Team Borax is the same thing) to 1 gallon water for up to 24 hours (the soda ash/borax helps the dye to "take" better). When you are ready to start dyeing, wring out the tee shirt and lay it out flat on your work surface - you want this to stay moist.
Next, decide where you want your spiral to begin. I usually like to start them in the middle of the shirt. Grab that area between two fingers and start to twist.
Keep twisting until the whole tee shirt has been wrapped around the one point.
If some of the pleats get too large, gently manipulate them to get the whole shirt even. Place a rubber band across the middle of the bundle.
Next, prepare your dyes. I use powdered dye that I buy from JoAnn Fabrics and mix it with distilled water.
Next, set up your station. I cover a cookie sheet with plastic wrap, get my dyes in place, have protective gloves, and the moistened tee shirt.
To get the pattern laid out correctly, I lay pencils out on the shirt in a six piece pie shape.
When you squeeze on the dye, it is important to make sure the dye gets down between the folds of material. Use your fingers to work through the folds and pleats while you squirt dye with the other hand.
Keep going around the circle, squeezing on your dye.
When I dye the red and blue colors, I try to not let the colors blend or it ends up looking muddy. But when I put out the red and yellow dyes, I try to allow those colors to blend a little. It ends up creating a great contrast on the finished tee shirt.
Then, flip over the tee shirt and repeat the process and appropriate colors on the other side of the shirt.
And - done! It is important to use enough dye but not too much. Not enough dye gives you too many white patches on the shirt, and too much dye will create a muddy colored tee shirt.
Next, carefully wrap the dyed tee shirt in a couple layers of plastic wrap and let the shirt sit in a cool dark place for 24 (or, if it is cool, even up to 48 hours).
After the time is up, remove the plastic wrap. See how the colors have really blended together?
Carefully cut the rubber bands.
And start rinsing! Use cold water to start, and gradually increase to warm then hot water. Be patient - this takes a while!
Keep rinsing until you don't see much or any dye coming out.
Then, pop this shirt (and others if you have done more than one) into the wash and run it through a regular cycle.
Then - tada! Here are a few of the shirts I made during this session (I forgot to get pictures of the shirts I gave my brother, but they were great! I will have to try to get some photos at a later date).
Enjoy! I'd love to hear about your experiences tie dying!
Jul 16, 2013
Homemade Lotion
Homemade lotion is relatively easy to make, and it is great because you can put exactly what you want in your lotion! Here is a brief tutorial for the Gardenia Lotion I recently made.
The ingredients:
1.7 oz. sweet almond oil
1 oz. avocado oil
1 oz. stearic acid
1.2 oz. emulsifying wax
1.2 ounce Shea butter
18 oz distilled water
0.2 oz phenonip
0.1 oz essential oil of choice (I chose gardenia for this batch)
In a container that is at least 32 oz and that has been disinfected or sanitized, combine:
1.7 oz. sweet almond oil
1 oz. avocado oil
1 oz. stearic acid
1.2 oz. emulsifying wax
The digital kitchen scale is the best way to get the precise measurements.
Heat in the microwave just until the stearic acid and emulsifying wax have melted (usually 1-2 minutes, depending on the microwave).
Add 1.2 ounce Shea butter and stir.
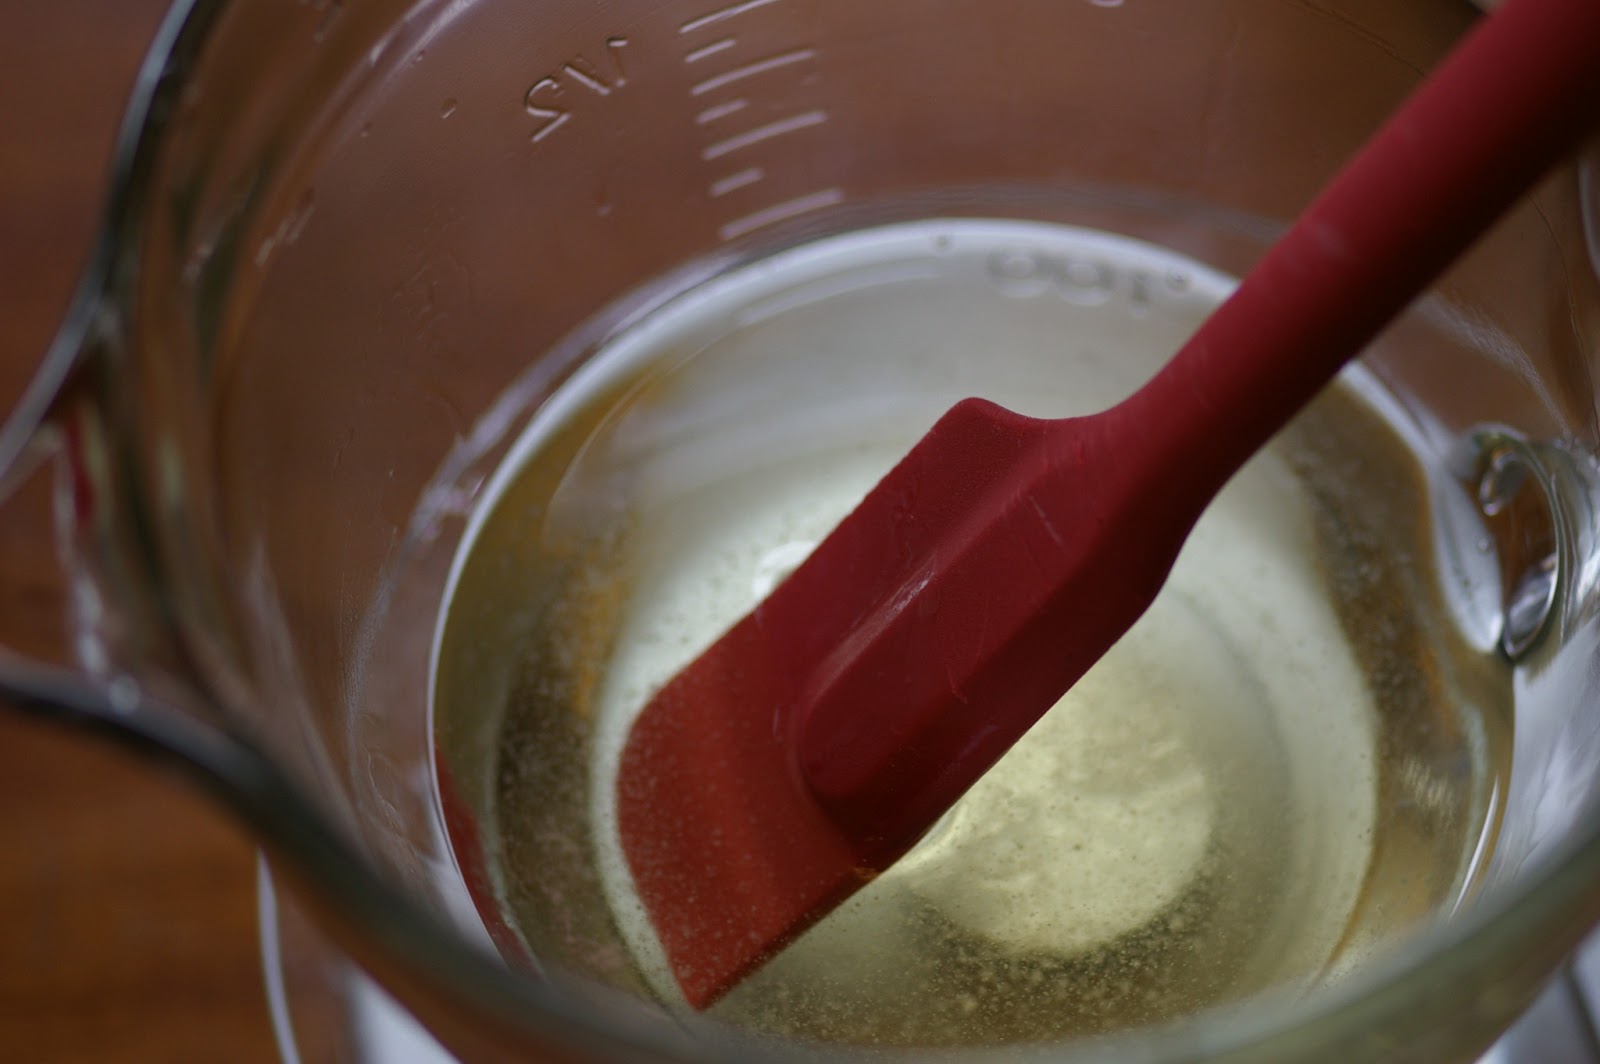
In the smaller disinfected container, measure out 18 oz distilled water and microwave for 1 minute or until warm.
Pour the heated distilled water into the melted oils/wax mixture. Stir with a spoon as you pour.
Start to blend with a stick blender or kitchen mixer or blender (on low) in pulses. If using blender or mixer, stir with your spoon in between pulses. The mixture will start to thicken as an emulsion between the oil and water forms. I used a stick blender because it is just so easy.
Keep blending in pulses until the mixture is nice and thick (I probably blended for another 30 to 60 seconds worth of pulses).
Pour into bottles. If your lotion is too thick to pour, simply microwave for about 15 seconds to warm it up just a bit and stir. You may have to do this more then once to thin it so that it is easier to stir. Otherwise, I just banged the container on the counter to get the lotion through!
That's it! Now you can enjoy your soothing homemade lotion! Homemade lotion is great for personal use, and also makes a thoughtful gift!
The ingredients:
In a container that is at least 32 oz and that has been disinfected or sanitized, combine:
1.7 oz. sweet almond oil
1 oz. avocado oil
1 oz. stearic acid
1.2 oz. emulsifying wax
The digital kitchen scale is the best way to get the precise measurements.
Heat in the microwave just until the stearic acid and emulsifying wax have melted (usually 1-2 minutes, depending on the microwave).
Add 1.2 ounce Shea butter and stir.
In the smaller disinfected container, measure out 18 oz distilled water and microwave for 1 minute or until warm.
Pour the heated distilled water into the melted oils/wax mixture. Stir with a spoon as you pour.
Start to blend with a stick blender or kitchen mixer or blender (on low) in pulses. If using blender or mixer, stir with your spoon in between pulses. The mixture will start to thicken as an emulsion between the oil and water forms. I used a stick blender because it is just so easy.
When the lotion has started to thicken, add 0.2 oz phenonip (this is the preservative) and stir. After phenonip has been blended in add 0.1 oz essential oil of choice (I used gardenia this time) and stir.
Keep blending in pulses until the mixture is nice and thick (I probably blended for another 30 to 60 seconds worth of pulses).
Pour into bottles. If your lotion is too thick to pour, simply microwave for about 15 seconds to warm it up just a bit and stir. You may have to do this more then once to thin it so that it is easier to stir. Otherwise, I just banged the container on the counter to get the lotion through!
That's it! Now you can enjoy your soothing homemade lotion! Homemade lotion is great for personal use, and also makes a thoughtful gift!
Subscribe to:
Posts (Atom)