Showing posts with label fermentation. Show all posts

Mar 11, 2014

Sauerkraut

Even though it is winter now, I would still like to share my sauerkraut making experiences from this last fall and previous falls.  Homemade sauerkraut really is easy to make, you just have to follow a few basic rules and have some time set aside! 


First, start with some good cabbages.  The cabbages grew great in the garden this last year.  Remove a couple of the outer leaves and quarter and core the cabbage.  Then, I used the shredding plate on my mandolin to finely shred each head of cabbage (please use protective gloves when working with the mandolin shredding plate - it is very very sharp!).  I believe I had 8 large heads of cabbage. 


As you can see, this is kind of a messy process. 


Pack the shredded cabbage into a clean crock with salt.


Then, you need to use your fists to smoosh the cabbage until you are able to make enough cabbage juice to cover your shredded cabbage.  When I started, my crock was full of fresh cabbage, and as I kept smooshing, I was able to extract more and more cabbage juice. 


After 4 to 6 weeks, the sauerkraut should be done (it depends on the temperature of your kitchen and how fast the sauerkraut ferments, too). 


Ladle into canning jars and water bath.  Done!


Homemade Sauerkraut


  • 25 pounds shredded cabbage (this should be about 6 - 8 heads)
  • about 1 cup of pickling salt
Cabbage needs to be thinly shredded.  I used the shredding plate on my mandolin, but you could also use a food processor with a slicing attachment, working in batches.  You can also use a sharp knife to thinly slice the cabbage (I have done that for many years).

Working in 5 pound batches, combine shredded cabbage and 3 Tbsp pickling salt in a large stone crock or glass or food-grade plastic container. Mix thoroughly. Let stand for 15 minutes or until juices start to flow and cabbage wilts slightly. Using a wooden spoon or your hands, press down firmly on the cabbage until the juice comes to the surface. Repeat four times, until all the cabbage is used up, leaving at least 4 inches of space between cabbage and rim of container. Sprinkle remaining pickling salt on top. If not enough juice has been produced to cover cabbage, you will need to add brine.  To make a bring, combine 4-1/2 tsp pickling or preserving salt and 4 cups water. Bring to a boil over medium-high heat, stirring to dissolve salt. Let cool to room temperature, then ladle over sauerkraut to cover.

Place a clean inverted plate over the cabbage mixture and weigh down with two or three quart jars that have been filled with water and capped. (It is important to keep the cabbage under brine by 1 to 2 inches throughout fermentation.) Cover with a clean heavy towel.  Let stand in a cool place. Every day, remove and discard any scum that has formed.  During fermentation, gas bubbles will form. When bubbling ceases, fermentation is complete.  Fermentation may take up to 6 weeks, depending on how warm your kitchen and also, variations in the cabbage itself.

I use the hot pack method to can my sauerkraut, as follows: Prepare your boiling water canner.  Heat jars and lids in simmering water until ready for use.  Do not boil lids.  Set bands nearby.

Bring sauerkraut, with brine, to a gentle simmer over medium-high heat in a large stainless steel saucepan.  It is important to not let this boil!  Pack hot sauerkraut and brine into hot jars leaving 1/2 inch headspace.  Remove air bubbles and adjust headspace, if necessary, by adding more brine. Wipe rim. Center lid on jar. Apply band until fit is fingertip tight.

Process quart jars in a boiling water canner for 15 minutes and pint jars for 10 minutes. Remove jars and cool.  Check lids for seal after 24 hours - to make sure it is sealed, the lid should not flex up and down when center is pressed.


Note: if you want to use the raw-pack method: prepare your boiling water canner. Heat jars and lids in simmering water until ready for use. Again, do not boil lids. Set bands nearby.

Pack the sauerkraut and brine (directly from the crock), into hot jars, leaving 1/2 inch headspace. Remove air bubbles and adjust headspace, if necessary, by adding brine.  Wipe rim.  Center lid on jar. Apply band until fit is fingertip tight.

Process quart jars in a boiling water canner for 25 minutes and pints 20 minutes. Remove jars and cool.  Check lids for seal after 24 hours - to make sure it is sealed, the lid should not flex up and down when center is pressed.

Mar 9, 2014

Home Made Root Beer

Have you ever thought about trying to make your own root beer?  It really is a fun project and I think it would be great to do it with kids!  The basic premise of the project is to use a closed system to set up a fermentation - that way, the closed system captures the generated carbon dioxide which naturally carbonates the root beer.

In a 'closed' fermentation system (such as this home made root beer), the carbon dioxide dissolves in the liquid, since it has no other place to go.  This gives the drink its fizz, and stops the fermentation process - this leaves most of the sugar intact, which is why the resulting beverage still so delightfully sweet. 

So why go to the trouble of making your own root beer?  I make it because unlike store-bought root beer, making your own gives you a delicious, naturally carbonated beverage that has less fizz and a smoother, richer, creamier taste.  


I had wanted to make root beer totally 'from scratch,' but when I looked up recipes I saw that I needed the roots of a sassafras tree.  At this point, I have no idea where to find a sassafras tree (though I will be keeping my eyes open)!


I decided to use a root beer base.  You can usually find root beer extract at your local supermarket or home brew supply store.  Also, you can order it online if you can't find the extract anywhere else. 


The next thing that is handy - but not totally necessary is a bottling bucket and wand.  You can make the root beer in the bucket, and use the wand to easily fill your bottles (the end of the wand has a spring loaded tip that makes it easy to fill bottles - just press the tip to the bottom of the bottle for flow and release the tip and the flow stops).  If you don't have this type of equipment - no problem.  The directions at the bottom of this post will be to make a 2 liter bottle of root beer with the only needed equipment being: a clean 2 liter bottle and a funnel. 


The next important thing is yeast: I have had good results with this Red Star Premier Cuvee yeast (found at my local brewing supply store), but you can also use regular baking yeast. 


Next step: sanitize your bottles of choice.  I like to use old swing-top beer bottles.  You can probably tell from this picture, but this bottling tree is fantastic: at the top is a spring loaded shooter that sanitizes the inside of the bottles quickly and easily, then they can drip drain on each of the pegs.  The tray at the bottom catches all of the drips!  Again, just in case you don't have this equipment, the directions at the bottom of the post will be for using a 2 liter bottle.


The bottling tree is filling up!  By the way, I should make mention when using glass bottles, there is always a risk of the bottles exploding (yes, I speak from experience).  If you are worried about it, a safer option would be to use clean 2 liter bottles.


Now, to begin; into the bottling bucket (or 2 liter bottle): water, yeast, sugar and the root beer extract. 


Doesn't the root beer extract look neat?


Then, start stirring!


I also like to use this stirring wand that attaches to a drill - as you can tell, it really gets the mixture moving!  It is important to get all of the sugar dissolved. 


And now, time to fill!  Make sure the end of your bottling wand is sanitized.  Grab your sanitized bottles and start filling!  If you have a bottling wand, just press the tip to the bottom of the bottle for flow and release the tip and the flow stops.  Release the flow just as the root beer gets to the top of the bottle - this way, when you remove the wand you will have the perfect amount of head space.  If you went with the 2 liter bottle option, don't worry about this step!


Look at all those bottles of deliciousness! 


Homemade Root Beer (To Fill A 2 Liter Bottle)

(note: if you have the brewing equipment and would like to make the root beer as I did in the pictures, please feel free to!  I used the whole bottle of extract which made about 4 gallons of root beer)

  • 1 tablespoon root beer extract (more or less to taste)
  • 1 cup white table sugar
  • 1/4 teaspoon yeast
  • water to fill 2 liter bottle

Assemble your equipment: a clean 2 liter bottle with cap and funnel.  Place the funnel in the plastic bottle.  Add the sugar, the yeast, and the root beer extract.  Add fresh, cool (filtered if you have soft water) water to the bottle, making sure to leave about 1 inch of head space.  Remove funnel and cap.  Shake the bottle thoroughly to dissolve the sugar and yeast.

Place the bottle at room temperature for three to four days.  Check the bottle every day - you are looking for it to feel quite hard (think grocery store pop bottles).  After the bottle feels quite hard to you, move it to a cool place that is below 65 degrees, or, if you feel nervous about an explosion, just move the bottle to the refrigerator - there is no danger of this root beer exploding in the refrigerator (again, I am speaking from experience!).

Note #1: Before you drink it, make sure to thoroughly chill the root beer - overnight in the refrigerator is a good idea.  Open the cap slowly to release the pressure, and enjoy!

Note #2: When pouring the root beer, take note that there is a bit of sediment of yeast at the bottom of the bottle.  It will look a bit cloudy.  It certainly won't hurt a person, but I prefer to decant the root beer carefully to avoid the sentiment getting into my glass.

Note #3: Home made root beer makes great root beer floats, especially if you use your own home made vanilla ice cream.

Mar 1, 2014

Silver Dollar Sourdough Pancakes

Do you remember recently when I posted on the care and feeding of sourdough, and in that post I shared memories of my grandpa's silver dollar sourdough pancakes?  I made the pancakes for breakfast this morning, and wanted to share the recipe with you.

My family always said that even though these pancakes look dainty, they are a real "stick to your ribs breakfast."  After the last several years of trying to duplicate Grandpa's recipe (that he never wrote down), I had a taste testing with my family.  They pronounced these pancakes had just as much "stick to your rib-ness" as Grandpa's, but tasted a wee bit better.  

The real test came when a half a pancake somehow got stuck in my one-year-old-niece's clothes - we found it after the shirt had gone through the washer and the pancake looked as good as new! 


One of the wonderful things about these pancakes are that you can eat a whole stack (or two). 


They are delicious with just a drizzle of maple syrup. 


I must admit that I enjoyed two stacks of these little beauties this morning.  For my second stack, I topped the pancakes with my homemade cherry cardamom jam. 


Delicious!


Silver Dollar Sourdough Pancakes


  • 1 cup sourdough starter
  • 1 cup flour
  • 1 cup milk
  • 1 egg
  • ¼ tsp salt
  • ¼ cup melted butter
  • 1 TB sugar
  • 1 tsp vanilla
  • ¼  tsp baking soda
  • ¼ cup buttermilk (or enough until you get a good consistency)


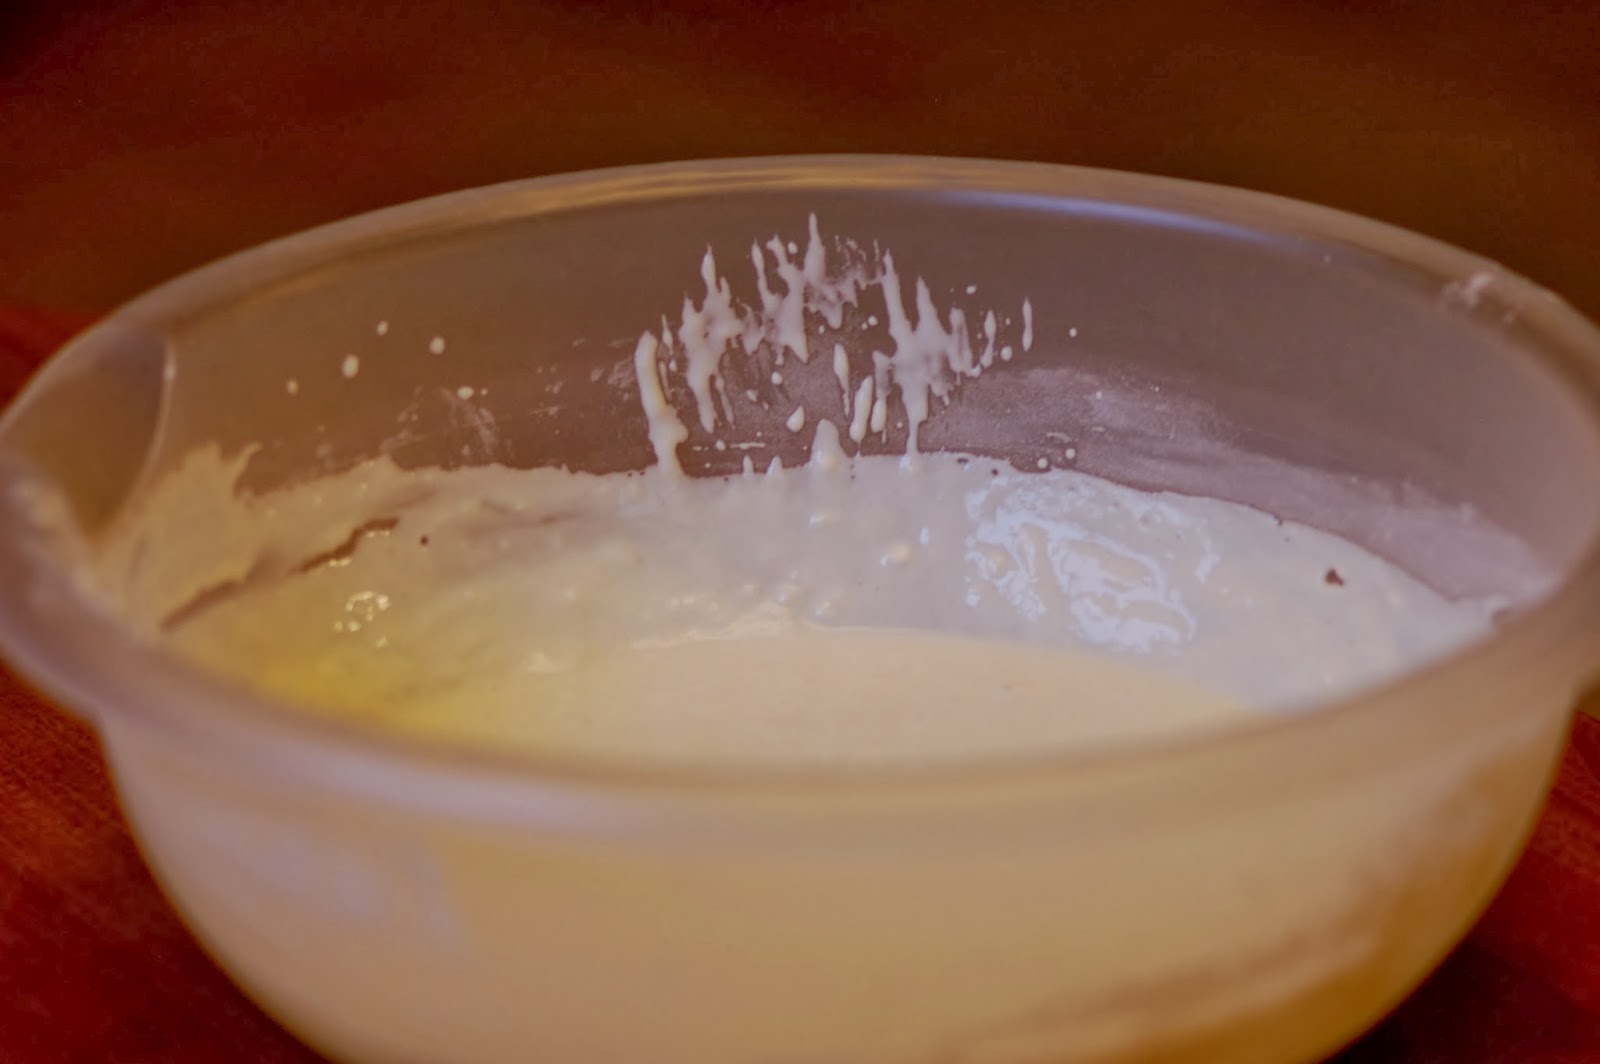
The night before, mix the 1 cup sourdough starter with the 1 cup flour and 1 cup milk.  Cover and let sit for 8-12 hours, depending on how warm your kitchen is and how active your culture is.

In the morning, start heating up your griddle or pan until it is fairly hot (I set my griddle to about 300 degrees F).  To your bowl of sourdough add: the egg, salt, melted butter, sugar, vanilla, baking soda and buttermilk.  Blend together until fairly smooth - but try not to over mix.  Add a bit more buttermilk if you need to - you want this batter to be fairly thin.

Pour batter by about a tablespoon-sized amount onto the griddle.  You can either use an actual tablespoon or pour a bunch of batter in a 2-cup measurer and pour out little dollops.  The pancakes should cook quickly - look for bubbles on the surface.  Flip and cook the other side.  I like to serve these pancakes stacked up with maple syrup, fruit syrup, butter and powdered sugar, any fruit jams, ect...

Feb 17, 2014

Easy Overnight Sourdough Bread

My husband has officially declared this bread the best sourdough bread he has ever tasted.  And do you know what I love so much about it?  It is really, incredibly, awesomely easy to make!  Read on!


The finished sourdough loaf - beautifully browned and crusty. 


Why not enjoy some fresh-baked sourdough bread with a nice cup of tea?  It is a perfect lunch.


The inside of the loaf - delightfully tangy and chewy with a beautiful crumb.


We loved this sourdough bread with a bit of butter and honey!


Overnight Sourdough Bread


  • 1 cup sourdough starter, room temp
  • 3/4 cup water (110 degrees F.)
  • 1 teaspoon salt
  • 3 cups bread flour or unbleached all purpose flour
  • 1/4 teaspoon yeast
Stir together all ingredients.  The dough will seem a little dry, but don't worry.  Cover, let sit on counter overnight or for about 12 hours.

At least a half-hour before dough is ready the next day, heat oven to 450 degrees. Put a 6- to 8-quart heavy covered pot or dutch oven (cast iron, enamel, Pyrex or ceramic) in oven as it heats.

When dough is ready, carefully remove pot from oven.  Pour dough into pan.  Shake pan once or twice if dough is unevenly distributed; don't worry too much - it will straighten out as it bakes.  Give the top of the loaf a few spritzes with water that is in a spray bottle - this is important for the sourdough crust.

Cover with lid and bake 30 minutes, then remove lid and bake another 15 to 30 minutes, until loaf is beautifully browned. During this last 15 to 30 minutes, open the oven and spritz the top of the loaf a few times with some more water.

When the loaf is done (I bake to an internal temp of 190 to 210 degrees F.), remove pan from oven.  Oh-so-carefully remove the from the pan and cool on a rack.  After it cools a bit, slice into the sourdough bread and enjoy!

How to Feed Your Sourdough

I have a very special gift: my grandpa's sourdough starter.  He passed away several years ago, but his memory (and his sourdough) lives on.  I don't know where his starter came from, he always had it for as long as I can remember.

One of my favorite memories from Grandpa was waking up in his farmhouse to the smell of his delicious silver dollar sourdough pancakes.  He never wrote down the recipe, and I was too young to think of asking him how he made the pancakes.  I am several years into the process of trying to duplicate the recipe based on my memories and my family's memories, and each time I make them, I get closer to how Grandpa's pancakes were.  I am so honored to have this sourdough from my Grandpa!

I wanted to share with you a few things I have learned while taking care of Grandpa's sourdough for the last few years.  Even though it can be a bit time consuming, having your own sourdough starter is worth it.  I hope this post will encourage you to get your own sourdough going - or better yet, get a sample from a friend!

When I think of sourdough, the first question I have is, "what is sourdough?"  Sourdough, by definition, is "leaven for making bread, consisting of fermenting dough, typically that left over from a previous batch."  Wild yeasts and lactobacilli are cultured in a flour and water mixture that is beautiful and alive.  These organisms create a symbiotic culture that will grow for years and years, as long as the sourdough is properly fed and taken care of.  


Grandpa's sourdough, happily bubbling away.  Since I don't have time to feed and use sourdough daily, I keep mine stored in a quart jar stored in the refrigerator.


This is often what my sourdough looks like when I remove it from the refrigerator.  If your sourdough looks like this - don't panic!  The liquid on top of the sourdough starter is normal - it is called "hooch."  Based on my research, some people pour off the hooch and replace it with water, and some people stir it in.  I am in the "stir it in" camp, because I feel that a lot of the flavors of the sourdough are in the hooch.  So, if you choose to, give the whole sourdough starter jar a good stir and work that hooch back into the starter.  Or, pour it off, replace the hooch with water and stir it in.


As you can see, it blends back in nicely with the sourdough. Note the wooden spoon: I never use anything metal on my sourdough - Grandpa always said not to.  So, after I stir the sourdough starter, I pour out about a cup - usually what I need to cook with.  I set this aside for now. 


Here is the sourdough starter I set aside - recipes to follow later!


When my mason jar starts getting too dirty, I pour the remaining sourdough starter into a clean jar.  Now, time to feed!


The general rule of thumb is to feed the started with equal parts by weight flour and water.  This usually turns out to be approximately 1 cup of water and 3/4 cup of flour.  Add the flour and water and stir with the wooden spoon.  As you are stirring, note how thick your starter is.  Does it need a wee bit more flour?  Or a dash of water?  Add what the sourdough needs until you feel comfortable with the consistency - some people like very watery starters and some people like them very thick, almost like pancake batter.  I like mine in the middle.  


Put a plastic lid or plastic wrap over the top of the jar and leave on the counter overnight or for about 8 hours. 


The next morning when you take off the lid, you should see lots of little bubbles.  This means that your sourdough is alive and working.


Some tips for caring for your sourdough:

  • As I wrote earlier, I like to use glass jars with plastic lids to store my sourdough.  Those little sourdough crocks are cute, but not really necessary.  
  •  If you think your sourdough is dead because it has been a couple of months since you fed it, don't throw it out right away!  Chances are it is still alive.  Try to feed it.  If it gets bubbly, it is still alive.  When this happens to me, I will do a two or three feedings over a few days time to get the sourdough healthy again.  
  • While you are letting your sourdough rest on the counter, don't screw the plastic lid on tightly - sourdough needs some oxygen, too.  
  • It is important that everything that touches the sourdough is clean and well rinsed so it has no soap residue.  
  • I have read you can gradually turn your sourdough into a starter with a different flour, say whole wheat for example.  I can't remember where I read it, but the gist of it was to, over many feedings, substitute some whole wheat flour for some of the regular flour, and gradually incorporate a bit more whole wheat flour and less regular flour each time, until, eventually, you are using only whole wheat flour to feed your sourdough.  I would recommend taking a portion of your sourdough out to experiment on; just in case it doesn't work you still have a backup!  
  • Sourdough can be used to make many delicious things: bread, pancakes, sweet breads, English muffins, pizza crust, waffles, popovers, cakes - pretty much anything you can think of!  In the next couple of months, I will be sharing my favorite sourdough recipes.  Stay tuned!

Oct 22, 2013

Fermented Dill Pickles

For years, I have been on the quest to make the perfect crispy, fermented dill pickle.  I've made bunches of batches, and they have ranged from salty enough to melt the ice from the sidewalks, to vinegary enough to wash the windows.  And pretty much all the time, they have been a soggy, limp, nasty consistency. 

But this is a new year!  With new research and new ideas!  So without further ado, I will share the (hopefully) Improved 2013 Fermented Dill Pickles recipe. 


First important ingredient: fresh cucumbers.  It is important to get fresh-picked-today small pickling cucumbers (not the slicing variety) because if you start out with soft cucumbers, the softness will only get worse with the pickling.


Next important step: take a tiny slice off the end that had the blossom.  Since it was sometimes hard to figure out which end to cut, I decided to slice off both ends.  This also created a more uniform look.


But why cut off the ends one at a time?  Let's do a bunch at once.  


Next, the fresh ingredients.  The first one of note is the fresh grape leaves.  This is a new technique for me this year, one I am trying based on my research.  I found out that adding fresh grape leaves to a crock of fermenting cucumbers adds tannin, which helps keep the pickles more crisp.  And also, I added fresh dill and (not pictured) garlic and onions. 


Next: the crock.  The crock needs to be cleaned, and totally free of contaminates and any fats or oils which can make for soft pickles.  Before filling, I wash my crock thoroughly, then run boiling water down the sides.  Then you can start filling by adding the fresh grape leaves, garlic, onions, and spices.


And ..... here they are!  Fermented dill pickles, packed into jars.  I let the crock sit for about a month, and the pickles ended up a little soft - but the flavor was good!  So I would recommend letting these sit for one to two weeks, then put them in jars and refrigerate them.


Fermented Dill Pickles


Brine
  • 1 gallon water
  • 1 cup kosher salt
  • 2 cups cider vinegar
  • 1 cup white vinegar
  • 1 tsp alum
In Crock:

  • 1 cup pickling spice
  • 4 fresh grape leaves
  • 1 bulb garlic, peeled
  • 2 onions, sliced
  • 2 or 3 dill weed heads
  • 1 garlic scape
  • 5-6 pounds baby cucumbers, scrubbed and blossom end trimmed

Lay "in crock" items in the bottom of your cleaned crock, and place the cucumbers on top.  In another large bowl, mix together brine ingredients and stir until the salt is dissolved.  Pour over cucumbers.

Let sit for one to two weeks, then pack into jars and refrigerate.