Oct 19, 2013

New and Improved Chicken Cabbage Salad

I think that most everyone has had that old stand-by chicken cabbage salad with the ramen noodles broken up in it.  I know I have eaten it a lot over the years, and I really like it.  The other day I was in the mood for it again, but decided to try to take the salad to the next level. 

Using red cabbage immediately gave the salad a face-life.


Adding more vegetables and a fixed-up dressing complete this tasty recipe.


Chicken Cabbage Salad

  • 1 medium head red cabbage, fairly finely chopped
  • 2 pounds cooked chicken, chunked (more or less optional)
  • 4 green onions, sliced
  • 2 stalks celery, thinly sliced 
  • 1 red pepper, chopped
  • 1 cup sugar snap peas, chopped
  • 2 tablespoons sesame seeds, toasted
  • 1/3 cup finely sliced almonds, toasted
  • 1 package chicken flavored ramen noodles
Dressing
  • 1/3 cup oil
  • 1/4 cup white vinegar
  • 1/4 cup seasoned rice vinegar
  • 1 seasoning packet from the ramen noodle package
  • 2 tablespoons sugar or honey
  • dash soy sauce
  • dash sweet chili sauce
  • dash sesame oil
Mix cabbage, chicken, green onions, celery, red pepper and peas together.   Mix all dressing ingredients together and stir thoroughly.  Stir dressing into vegetable/chicken mixture.  Let sit in refrigerator for at least an hour.  Before serving, stir sesame seeds, almonds and crumbled ramen noodles into salad.  Otherwise, what I like to do is to serve the "crunchies" in a separate bowl.  This way, everyone can top their own, and if you have leftovers, the noodles, ect... aren't soggy the next day!


What do you think?  Do you prefer the old, or would you be interested in trying my new chicken cabbage salad?

Oct 9, 2013

Homemade Mustard

When I made Alton Brown's homemade pretzels for the first time several years ago, I also tried making his homemade mustard.  Since then, I've decided that making my own mustard is so tasty, easy and cheap that I started keeping it around all the time.  It begins as a zippy spread that lasts in the refrigerator for about a month, and mellows nicely over that period of time. 


To start, I place some brown sugar and spices in a bowl. 


And collect the wet ingredients in a measuring cup.


Then, stir the wet and dry ingredients together and microwave for one minute.


And use the stick blender to mix for one minute.  Then, the mixture is left to cool down without a lid.  This helps to thicken the mustard. 


As you can see, the mustard thickens as it cools.


Then, I use a funnel to put the mustard into a handy squeeze bottle.  It will keep in the refrigerator for about a month.  We use it on sandwiches, hamburgers, pretzels, and in any recipe where mustard or Dijon mustard is called for.   


Homemade Mustard 


  • 1/4 cup dry mustard powder
  • 2 teaspoons light brown sugar
  • 1 teaspoon kosher salt
  • 1/2 teaspoon turmeric
  • 1/4 teaspoon paprika
  • 1/2 teaspoon garlic powder
  • 1/2 cup sweet pickle juice
  • 1/4 cup white wine
  • 1/2 cup cider vinegar
  • 1/4 cup whole yellow mustard seed  

In a small, microwave-proof bowl whisk together the dry mustard, brown sugar, salt, turmeric, paprika and garlic powder.  In a separate container (a liquid measuring cup works great), combine the pickle juice, white wine and cider vinegar and have standing by.

Place the mustard seed into a spice grinder and grind for a minimum of one minute, stopping to pulse occasionally.  Once ground, immediately add the mustard to the bowl with the dry ingredients and add the liquid mixture.  Whisk to combine.  Place the bowl into the microwave and heat on high for one minute. Remove from the microwave and puree with a stick blender for one minute.  Allow to cool uncovered on counter. Once cool, cover and store in the refrigerator for up to one month.  I like to place the mustard in a handy squeeze bottle for ease of later serving.  

Oct 8, 2013

Old Fashioned Special Freezer Corn

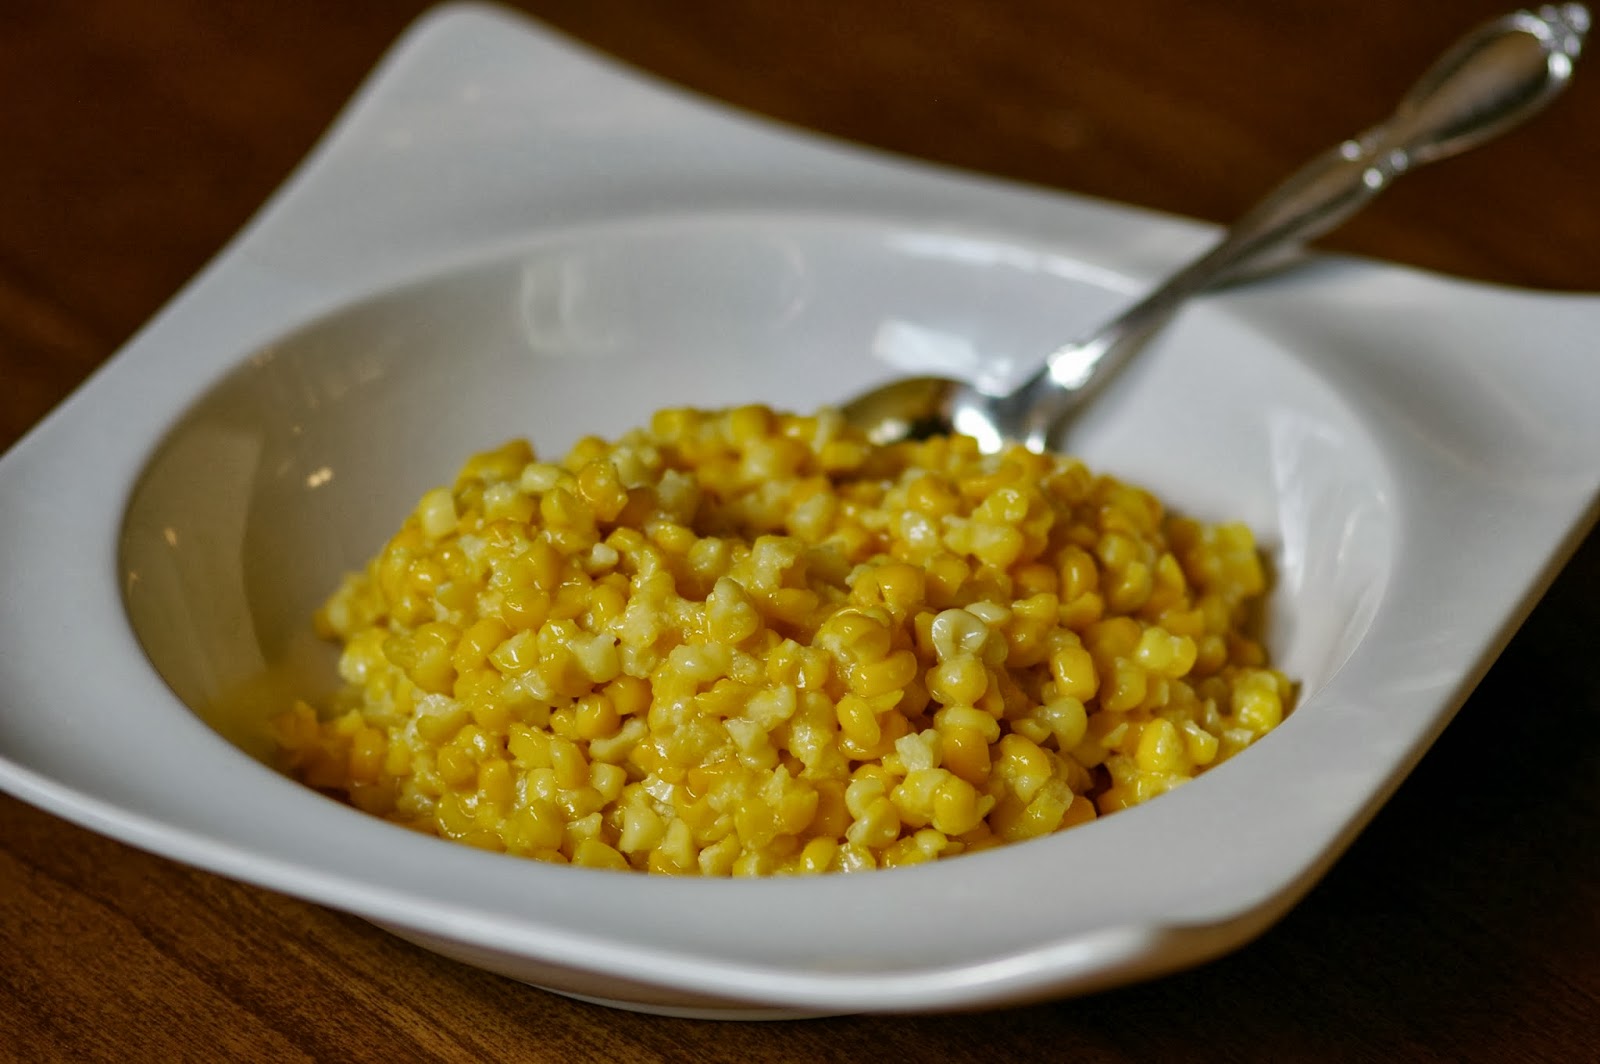
Part Two of the Corn Saga: Old Fashioned Special Freezer Corn.  Before we get started, I just wanted to offer a preliminary warning: this recipe is very very naughty and also very very delicious.  It is so good that I think it could almost count as dessert.  I got this recipe from a fellow nurse I work with, who used to make it for her kids. 


We start with a bunch of corn cut from the cob. 


Then, mix it with cream, butter, sugar and salt (all the best things, right?  Oh my gosh this is so naughty!).


Then, that mixture is baked until all the liquid is absorbed.  Pack into freezer bags - or, dish some up for a little treat after all of that hard work.   


Old Fashioned Special Freezer Corn 

  • 3 dozen ears of corn
  • 1 pound butter
  • 1 or 2 pints heavy whipping cream
  • 1/2 cup sugar
  • 2 tablespoons canning salt
Remove husks and silks from corn cobs.  Remove corn from cob of corn - there should be about 20 cups of corn.  Place corn in large roaster pan.  Add butter, cream, sugar and salt.  Bake in a 350 degree F. oven for about one hour, or until all the liquid is absorbed.  Remove from oven and cool.  Put in freezer bags and freeze. 

Note: this recipe can easily be halved or quartered.

Oct 6, 2013

Corn Relish

My grandparents on my dad's side have always had a large garden - since they were dairy farmers and lived on a farm, this made sense.  But now, even though they are into their eighties, their vegetable garden is still much larger than mine. 

Grandma called me up the other day and said they had "some extra corn" (this is my dining room table heaped with fresh corn on the cob from them). Thank you Gramma and Granpa!


They sure had a lot extra!  But I was very excited to put it to good use. 


We set up a corn-cob-slicing station on an outside table, as it makes such a mess!


This big red bowl holds 42 (!) cups.  That is a lot of corn!  And still more to slice off the cob!


I decided to make three things with the corn: regular canned corn, special freezer corn, and corn relish.  Today we are going to make corn relish - but I will be posting the other recipes soon!

To start the corn relish, I needed some peppers.  I picked a pail full of miscellaneous hot and sweet peppers from the garden.  


Then minced the peppers in the food processor and added them to the corn, along with some spices.


I cooked the mixture for a bit, then canned it in a boiling water bath for 15 minutes.


Tangy + sweet = delicious.  Corn relish works in place of salsa with chips, or as a condiment on tacos or enchiladas or something, or as a topping for grilled meats, ect...

Or you can just eat it by the spoonful.  


Corn Relish 


  • 2 quarts cut corn (about 18 ears) 
  • 2 cups finely chopped onion 
  • 1 cup chopped sweet green peppers 
  • 1 cup chopped sweet red peppers 
  • 1/4 to 1/2 cup chopped hot peppers (I used Hungarian hot peppers)
  • 1 to 2 cups sugar 
  • 2 to 4 cloves garlic, minced 
  • 2 tablespoons dry mustard 
  • 1 tablespoon celery seed 
  • 1 tablespoon mustard seed 
  • 1 tablespoon salt 
  • 1 tablespoon turmeric 
  • 1 quart vinegar


 Remove husks and silks from corn; cut corn from cobs (do not scrape cobs). Measure 8 cups of corn kernels.  In an 8- to 10-quart heavy kettle or pot combine corn and remaining ingredients. Bring to a boil; reduce heat and simmer for 30 minutes. Pack hot relish into hot jars, leaving 1/4 inch head space. Adjust two piece caps. Process 15 minutes in a boiling water canner. Yield: about 7 pints

Oct 3, 2013

Stuffed Mushrooms

Mushrooms are something that I never liked when I was a kid.  However, in the last year or so, I have been looking - yes, looking for opportunities to eat mushrooms - because they are a food I want to learn to eat (yes, I know I am weird).  Anyhow, a couple of days ago, I was really really in the mood for some stuffed mushrooms.  I wanted them to be creamy, mushroom-y, with just a little bite.  I am happy to say that this recipe was a success!


First, I gently washed some baby portabella mushrooms.  I know there is quite a debate on whether or not to wash mushrooms, but I tend to lean to the side of gently washing them vs. not.  Alton Brown did a segment on his show Good Eats quite a while ago where he weighed washed and unwashed mushrooms, and came to the conclusion:

a) the weight difference between the washed and unwashed mushrooms was negligible and
b) since the weight difference was negligible, it is nicer to not have dirt on your mushrooms. 

So, ever since then, I gently wash my mushrooms under cool running water and let them dry a bit in a colander.


Then, I used the end of a spoon and scooped/pulled out the stem of the mushroom.  I like to finely chop these stems and add them to my filling for a little extra texture, body and nutrients.  Yes, mushrooms do actually have nutrients - selenium, potassium, riboflavin, niacin and vitamin D are some of the more famous nutrients mushrooms boast.


By the way - NOT that I am trying to sell things for any particular company or anything, but I love my hand food chopper!  I use it right on my cutting board.  All you have to do is gather what you want chopped inside the little bell, give it five or six good chops and that is it!  Look at that nice pile of chopped mushroom stems.  I love time-saving tools like this in my kitchen.


I added cream cheese, crumbled blue cheese, some grated horseradish, fresh minced garlic, and chopped celery, olives and bacon and put the mixture in a quart bag. 


It is so easy to just snip the corner of the baggie and fill the mushroom caps. 


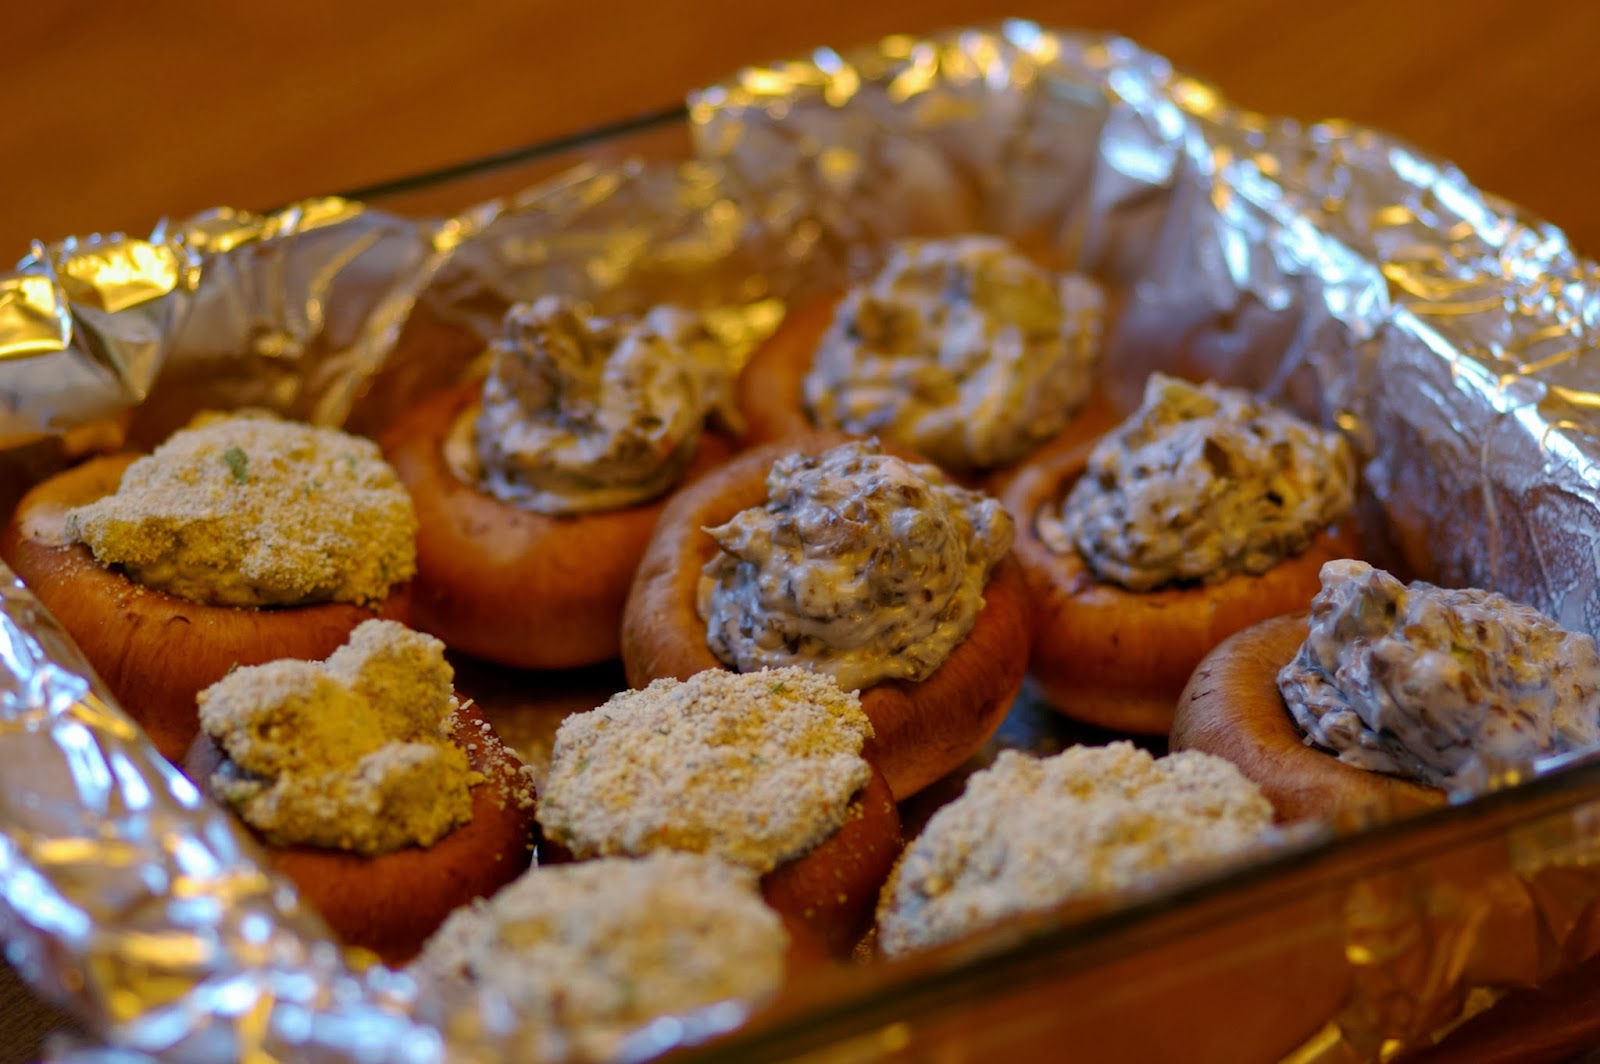
I decided to experiment and top a few of the mushrooms with bread crumbs and I left a few plain.


Bake the mushrooms - done!  I honestly couldn't tell the difference in texture or flavor between the breadcrumb or the non-bread crumbed stuffed mushrooms.  The difference I did notice was that the mushrooms with the breadcrumbs didn't melt all over the bottom of the pan, so, I decided I liked using the breadcrumbs.


Stuffed Mushrooms


  • 9 baby portabella mushrooms 
  • 4 ounces cream cheese, softened 
  • 2 ounces blue cheese, crumbled 
  • 2 or 3 garlic cloves, minced 
  • 1/2 teaspoon grated horseradish 
  • 2 slices bacon, chopped fine 
  • 1/4 cup sliced celery, chopped fine 
  • 1 tablespoon chopped olives
  •  salt to taste, if desired 
  • 1/3 cup bread crumbs

Preheat oven to 350 degrees F.  Gently wash mushrooms if desired.  Remove stems and chop finely.  Line an 8x8 dish with tinfoil or parchment and lay out the mushrooms stem side up.  In a medium mixing bowl stir together the cream cheese, blue cheese, garlic, horseradish, bacon, celery, olives and salt if desired.  Mix well.

Divide the cream cheese/mushroom mixture evenly between the mushrooms, then sprinkle the bread crumbs evenly over the mushrooms. Bake mushrooms in a 350˚ oven for 18-20 minutes or until tops are browned, and let them rest 5 minutes before eating.
Preheat oven to 350˚. Line a baking tray with parchment paper and lay out your mushrooms stem side up. In a medium mixing bowl stir together the cream cheese, blue cheese, horseradish and milk. Add the garlic and bacon, mixing well.

Divide the cream cheese mixture evenly between the mushrooms, then sprinkle the bread crumbs evenly over the mushrooms. Bake mushrooms in a 350˚ oven for 18-20 minutes or until tops are browned, and let them rest 5 minutes before eating.
- See more at: http://mushroominfo.com/bacon-blue-cheese-stuffed-mushrooms/#sthash.7MyeVEdn.dpu

Oct 2, 2013

Late Summer Flower Garden Shoot

The late summer garden is so beautiful!  I've been taking these pictures over the last few weeks, and just wanted to share them with you!

The love-lies-bleeding amaranth is looking so beautiful and graceful.


The dahlia bed has also been great this year.  Now, I just have to remember to dig up the tubers after the first frost!


The squash arbor didn't do so well this year (I should have watered it a bit more, my bad).  We did get a few spaghetti and buttercup squashes, though. 


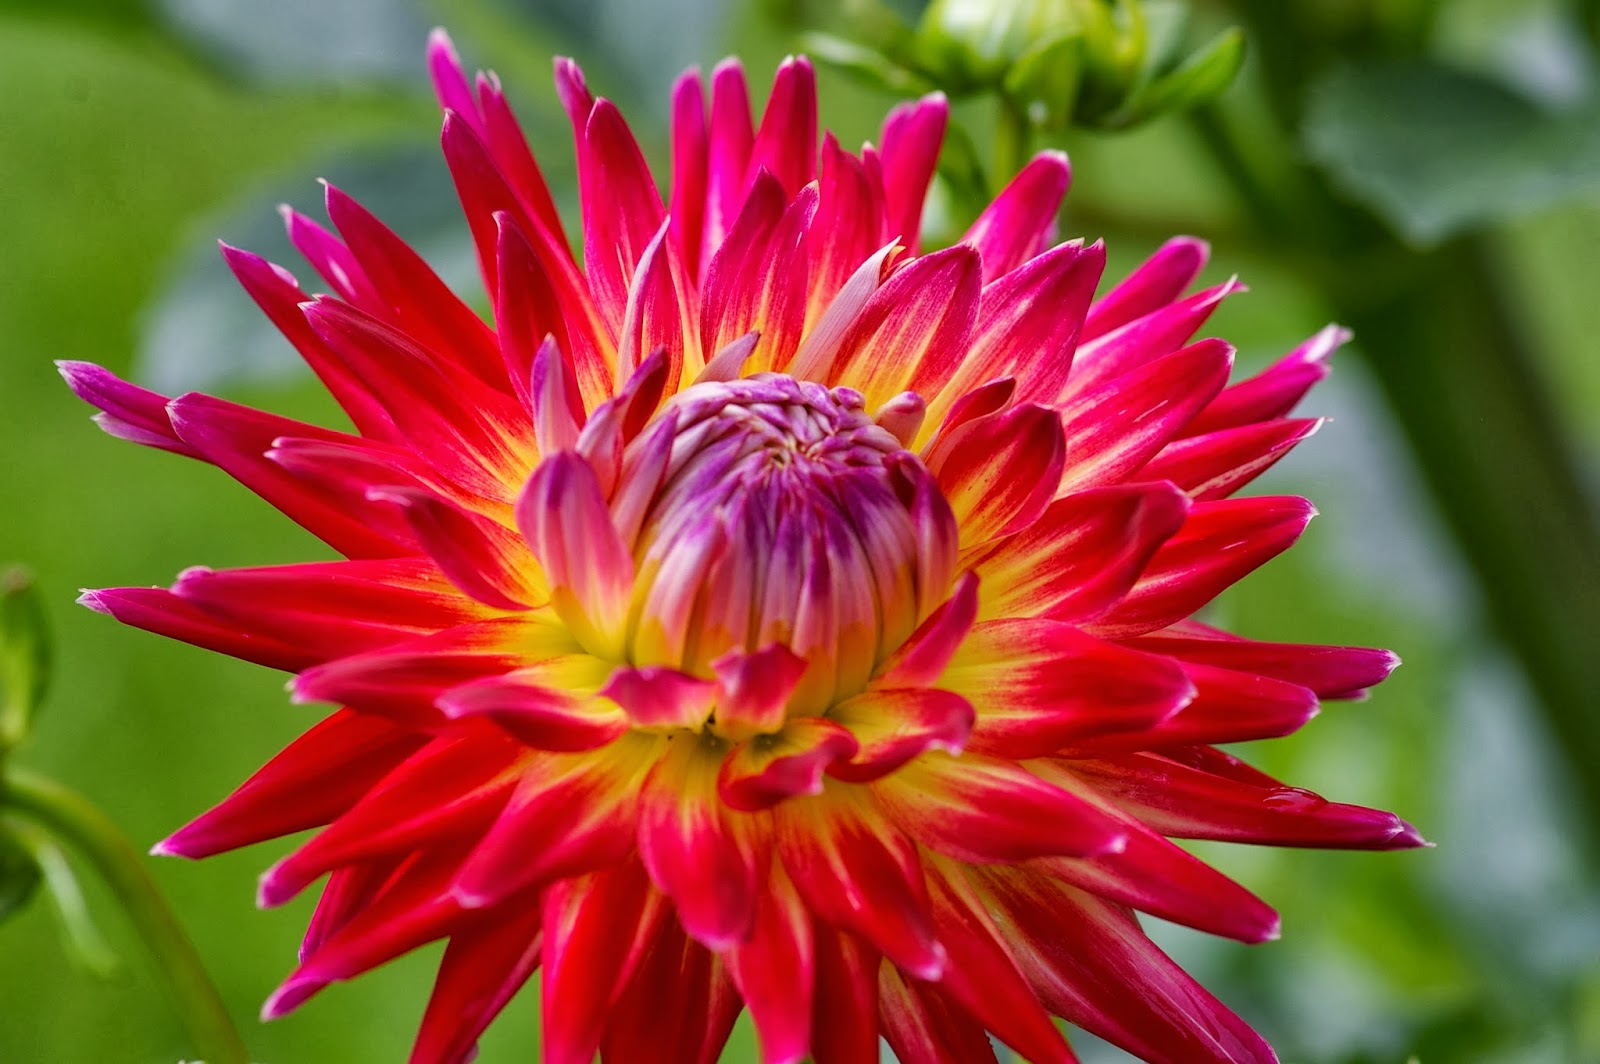
Warning: dahlia pictures ahead.  They are gorgeous!


Our dinnerplate white dahlia's were amazing this year.  As you can see, this dahlia is a good 10 to 11 inches across - and many of the white dahlia's were even bigger! 


The stargazer lilies smell as delicious as they look.


The morning glory vine has taken over this trellis in the vegetable garden.


The pink morning glories are my favorite.


This light pink hollyhock is now well over eight feel tall.  And it has been flowering all summer!


The datura is going crazy.


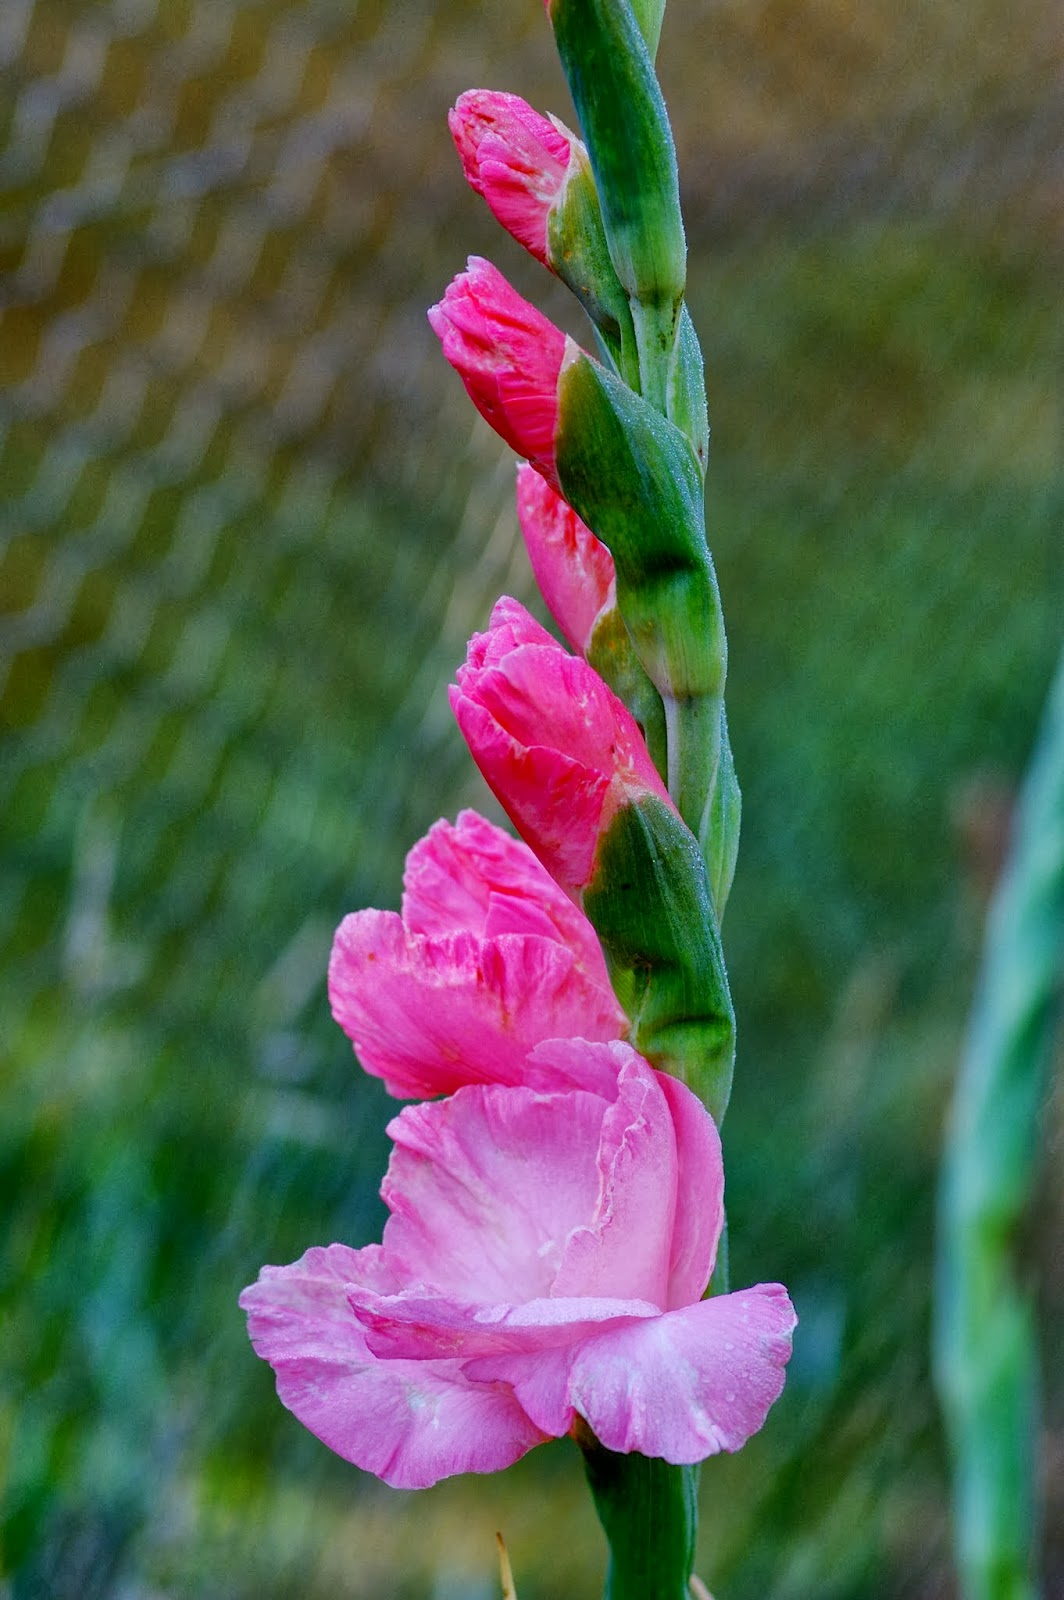
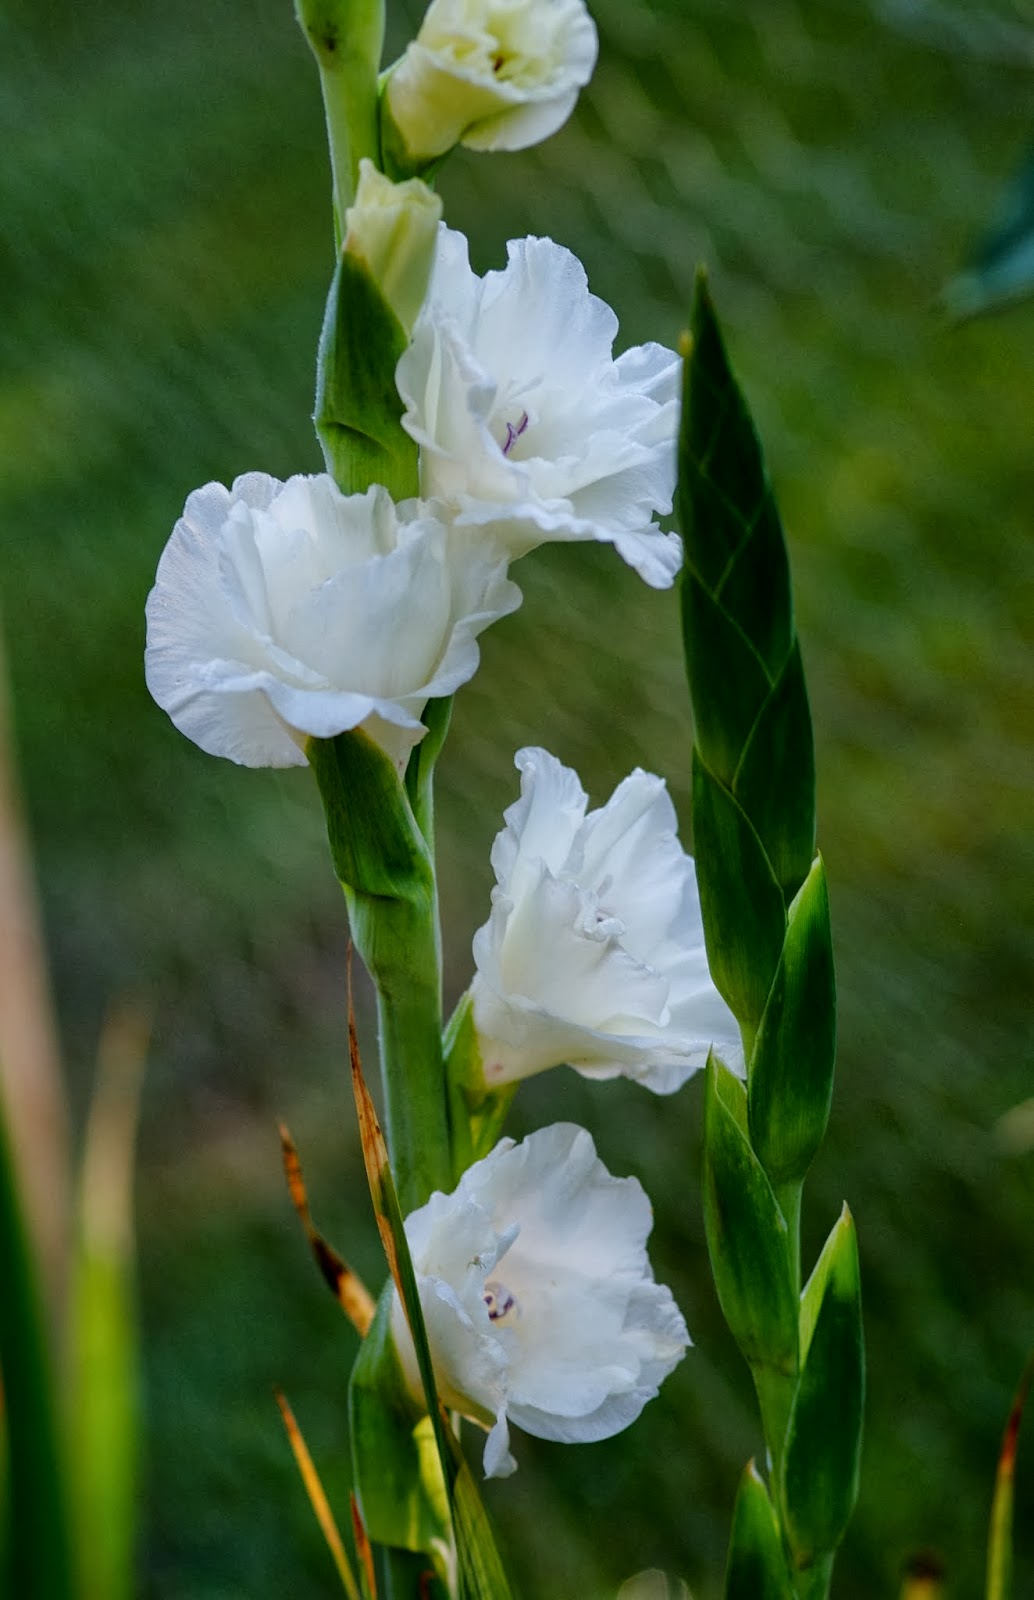
The gladiolus' bloomed quite late this year!


The wildflower garden keeps blooming and blooming!


This is my most favorite nasturtium ever - "Peach Melba."


The cosmos grew from seed this year.


A glorious pink wrinkled poppy.


A sunflower just about ready to open.


A little spot in the vegetable garden where I planted a love-lies-bleeding, pink zinnias and cilantro.  The cilantro is gone to flower, with the delicate little white blossoms.  Beautiful!


Another sunflower head, getting ready open.


This stargazer lily was just going crazy.


This is a mystery flower.  I have no idea what it is.  Any suggestions?  It just popped up this late summer in one of the perennial gardens.  The stem has no leaves, and there are four open flowers at the top, and several unopened buds as well.  The whole thing is about 20 inches tall.  I would love some help in identifying this flower!


The foxgloves finally decided to bloom as well.


And this phlox!  I couldn't believe how gorgeous this pholx was!  It was blooming right in with the regular pink phlox.  I am not sure if it is supposed to look like this though?


The hydrangea's are still blooming.


And the monarda as well.


The borage has been blooming all summer.


And I loved this hollyhock!


It is hard to imagine how much of a true-blue color this delphinium is.  I believe the variety is called "Sky Blue."


The zinnia's are going crazy.


Thanks for joining me on my walk through the garden!