Feb 28, 2014

Pistachio Orange Cookies

And now, another belated Christmas cookie post - but a very important one!  These are Charlie's favorite Christmas cookies ever, and are the first cookies I always make for the season.  Honestly though, I don't think they have to be made just at Christmas time.


We first found the recipe in the Minneapolis Star Tribune newspaper, and it was the Christmas cookie contest winner from several years ago.  After we tried the cookies, we knew why! 


The cookies are crisp and buttery.


The filling is flavored with pistachios and fresh orange.


And after the cookies are sandwiched together, the edges of the sandwich are rolled in finely chopped pistashios.


As you can see, each cookie is perfectly sized to pop in your mouth in a single bite!


Pistachio Orange Cookies


Cookies
  • 2 cups flour
  • 1 teaspoon salt
  • 2 teaspoons cream of tartar
  • 1 teaspoon baking soda
  • 1 cup butter, at room temperature
  • 1/2 cup granulated sugar, plus extra for rolling dough
  • 1/2 cup firmly packed brown sugar
  • 1 egg
  • 1 teaspoon vanilla extract

Filling
  • 1 cup raw shelled pistachios, divided
  • 1/2 cup butter, at room temperature
  • Freshly grated zest of 1 orange, finely chopped
  • 1 teaspoon orange extract
  • 1 teaspoon vanilla extract
  • 3 cups powdered sugar
  • 2 tablespoons milk (or use 1 tablespoon milk and 1 tablespoon freshly squeezed orange juice)

To make the cookies, preheat oven to 350 degrees F. and line baking sheets with parchment paper.
In a large bowl, whisk together flour, salt, cream of tartar and baking soda, and reserve.
In a bowl of an electric mixer on medium-high speed, beat butter, granulated sugar and brown sugar until light and fluffy, about 2 minutes. Add egg and vanilla extract and beat until thoroughly combined. Reduce speed to low and add flour mixture, in thirds, mixing until just incorporated.

Form dough into ½-inch balls.  Roll dough balls in granulated sugar and place 2 inches apart on prepared baking sheets. Bake until cookies are set but not browned, about 11 minutes (cookies will puff up in oven, but flatten as they cool). Remove from oven and cool 2 minutes before transferring cookies to a wire rack to cool completely.

To make the filling, in food processor fitted with a metal blade, pulse ½ cup pistachios until very fine (the nuts should almost clump together in a paste between your fingers).

In a bowl of an electric mixer on medium-high speed, beat butter with orange zest until light and fluffy. Add orange extract and vanilla extract and mix until thoroughly combined.  Reduce speed to low and add powdered sugar, in thirds, alternating with milk (or milk and orange juice), beginning and ending with powdered sugar, and beat until smooth (you may need another tablespoon or so of liquid to reach desired consistency). Fold in pistachios, mixing until thoroughly incorporated.

And finely, to assemble the cookies: finely chop remaining 1/2 cup pistachios and place in a shallow dish. Spread a generous dollop of filling on bottom of a cookie. Top with another cookie, bottom side up to make  your sandwich, and gently press cookies together until filling is just at edge of cookies. Roll filled edge in chopped pistachios. Repeat until all cookies form sandwiches.

Spring is coming?

Greetings from northern Minnesota, on a blustery wintery day!  It is 4 degrees outside (above zero), and the wind is blowing rather ferociously.  What better day to pull out that stack of seed catalogs that has collected on my shelf and make some plans for this summer!? 


Have you started planning your vegetable and/or flower gardens?  I have some new plants that I am excited to try this year and wanted to share them with you.


Heirloom Elephant Head Amaranthus:

fourth try photo ElephantHead13-3.jpg
(http://s92.photobucket.com/user/BLONDECHICK95926/media/ElephantHead13-3.jpg.html)


Peanuts:

How to grow peanuts
(http://backyard-homestead.com/how-to-grow-peanuts)


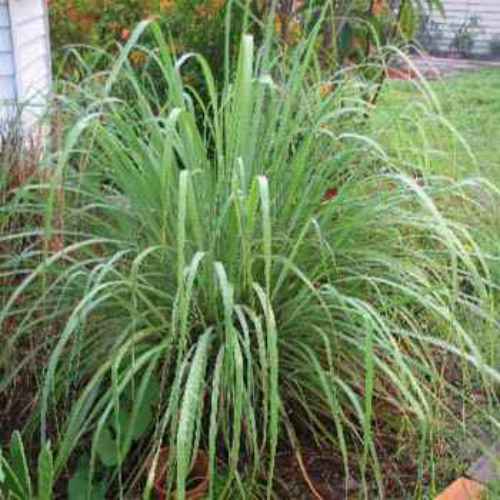
 Lemon Grass from seed:

Lemon Grass
 (http://www.outsidepride.com/seed/ornamental-grass/lemon-grass.html)


Dragon Tongue Arugula:

Arugula ‘Dragon's Tongue’ 
 (http://loghouseplants.com/plants/shop/arugula-dragons-tongue/)


Mixed Colors Echinacea

Echinacea
 (http://easybloom.com/plantlibrary/plant/echinacea)


 Red Shiso:

 (http://plantfreak.wordpress.com/2012/02/25/the-somehow-hearty-and-minty-shiso/)


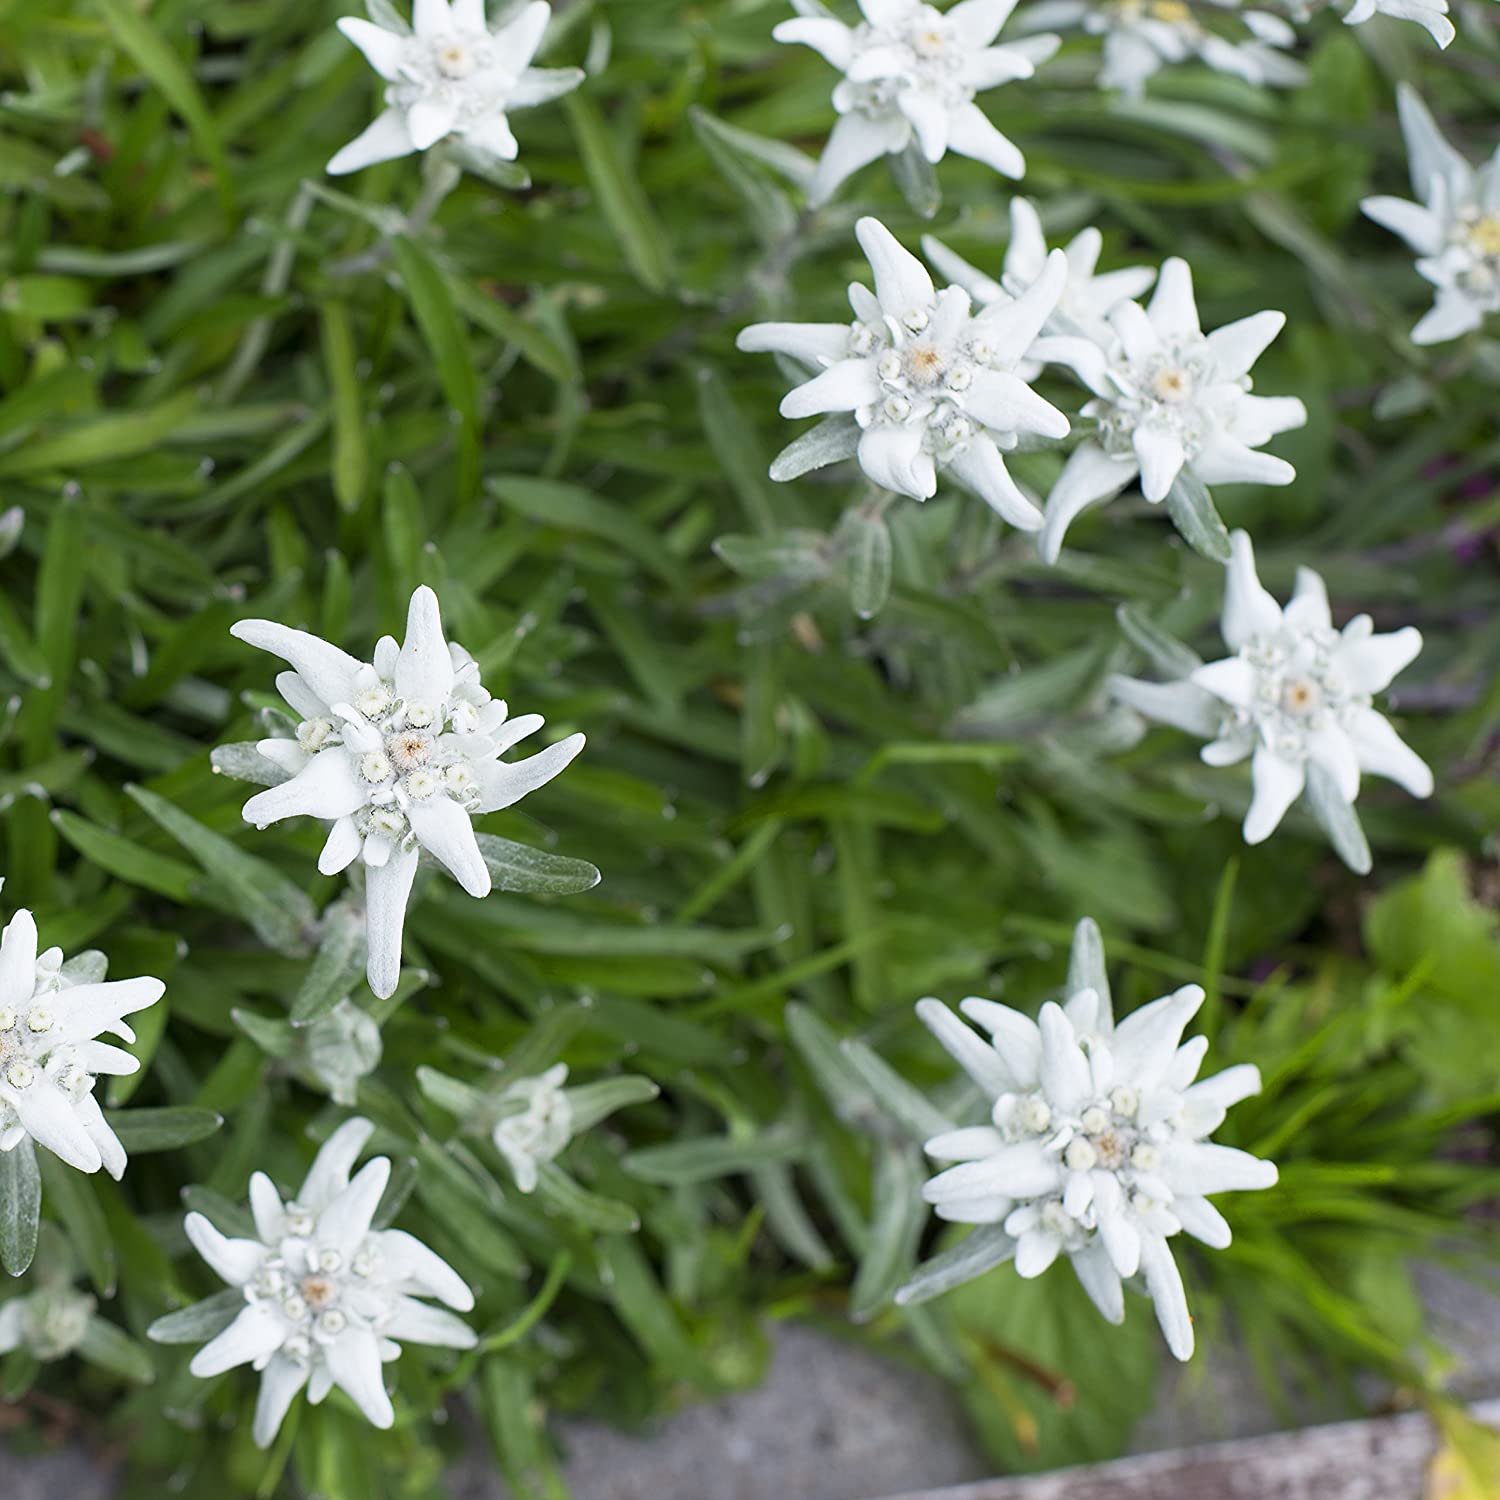
Edelweiss (like from the Sound of Music)

Edelweiss
 (http://www.outsidepride.com/seed/ground-cover-seed/edelweiss.html)


Joe Pye Weed

 (http://www.obsessiveneuroticgardener.com/2013/08/a-little-joe-pye-weed-love.html)


 Ramps

 (http://www.nytimes.com/2011/04/20/dining/20forage.html?pagewanted=all&_r=0)


 Neck Pumpkin Squash

 (http://www.homekitchengarden.com/home-kitchen-garden/neck-pumpkin-a-home-kitchen-garden-marvel)


Narrow Leaf Echinacea (the truest medicinal echinacea)

Despite having been scraped by a snowplow the prior year, this roadside Echinacea angustifolia plant bore the most heads seen during a long-term study.  
(http://my.chicagobotanic.org/science_conservation/undercover-science-5/)


 Black Current Swirl Datura

Datura metel
 (http://hortiplex.gardenweb.com/plants/jour/p/07/gw1013007/page.html)


 Valerian

 (http://whitesagelanding.net/herbs-essential-oils/valerian-essential-oil)


 Watercress

watercress
 (http://www.wildedible.com/wild-food-guide/watercress)


 "Velour" Dwarf French Garden Bean

 'Velour' bush bean. Image via parkseed.com
 (http://broadwayandthresher.com/farm-and-garden/2013/6/20/the-soils-warm-plant-beans-fg)


Oh, and just like that, it is now snowing outside!  Wonderful....

What exciting new things are you going to try this year in your garden?

Feb 27, 2014

Candied Kumquat Tart

One of my uncles lives in Alabama, and one of the things he grows are kumquat trees.  He mailed some to my grandma, and she so nicely shared some with me!

This was my first time eating a kumquat.  Since they are such a beautiful fruit, I wanted to make something special with them.  I decided to make a Candied Kumquat Tart.


Mixing up the crust in the food processor (I love using my food processor anytime I need to cut butter (or shortening, ect...) into a flour mixture)...


The dough wrapped and ready to chill. 


The objects of our affection: the kumquats.


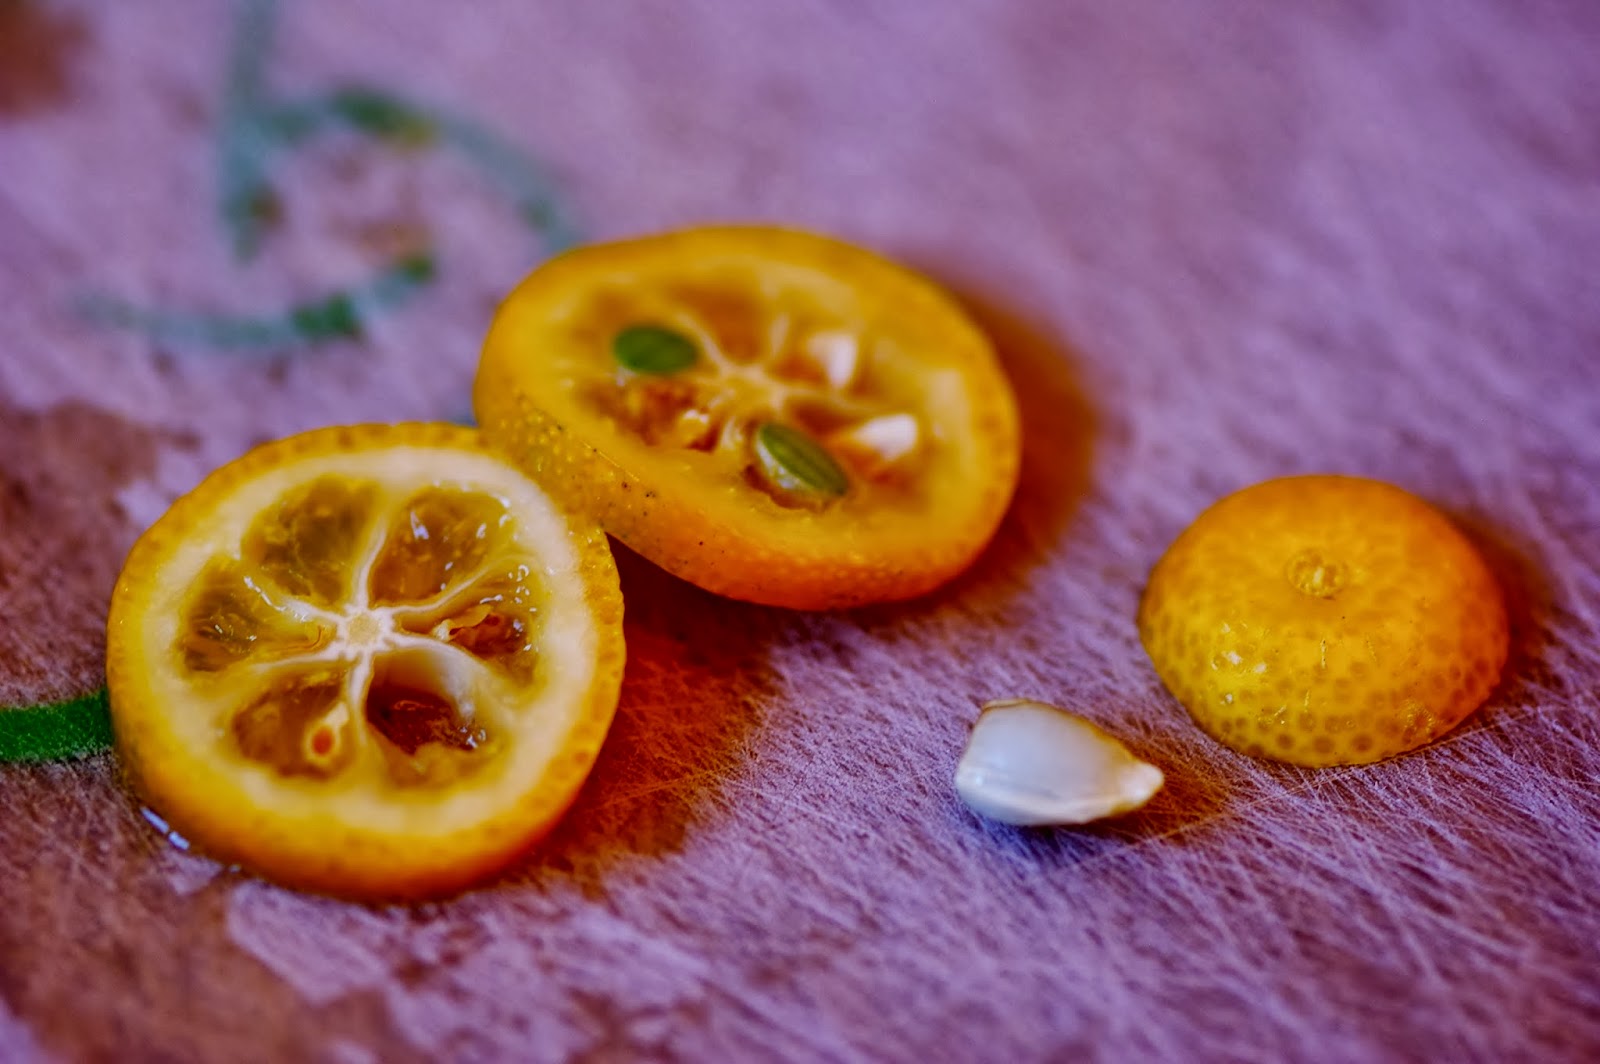
Slicing and removing the seeds.


Sliced kumquats - ready to go!


After I candied the kumquats.  Aren't they beautiful?!


Next, the kumquat cream made and ready to go.


I always strain any custards I make for a perfectly silky smooth texture and this is why: see the bits of fruit and cooked egg?


All the parts ready to go: the crust is baked, the custard done, and the kumquats candied.


The custard in the shell.


The kumquat syrup - I had to try my hand at another "in motion" picture.  I think it turned out better than my last one?


The candied kumquats on the tart:


Candied Kumquat Tart


Crust

  • 1 egg yolk
  • 2 tablespoons very cold water
  • 1 teaspoon vanilla extract
  • 1 1⁄4 cups unbleached flour
  • 1⁄3 cup sugar
  • 1⁄4 teaspoon salt
  • 8 tablespoons cold unsalted butter

For crust: In a small bowl, stir together the egg yolk, water and vanilla; set aside.

To make the dough in the food processor, add flour, sugar and salt to processor bowl.  Cut stick of butter into 1/2 inch-ish slices and place in food processor bowl.  Pulse until butter is incorporated into butter.  Next, while pulsing, pour egg yolk, water and vanilla mixture into flour.  Pulse just until mixture comes together into a ball.

To make the dough by hand, in a large bowl, stir together the flour, sugar and salt. Using a pastry cutter or 2 knives, cut the butter into the flour mixture until the texture resembles coarse cornmeal, with butter pieces no larger than small peas. Add the egg mixture and mix with a fork just until the dough pulls together.

Transfer the dough to a work surface, pat into a ball and flatten into a disk. Use the dough immediately, or wrap in plastic wrap and refrigerate until well chilled, about 30 minutes.

To roll out the dough, on a lightly floured board, flatten the disk with 6 to 8 gentle taps of the rolling pin. Lift the dough and give it a quarter turn. Lightly dust the top of the dough or the rolling pin with flour as needed, then roll out until the dough is about 1/8 inch thick. Use a small, sharp knife to cut out a round or rounds 2 inches greater in diameter than your tart or larger tartlet pans.   Place in tart pan with removable bottom and bake at 350 degrees F. for 15 to 20 minutes.  Makes enough dough for one 9 1/2-inch tart.


Candied Kumquat's
  •  1 cup sugar
  • 1 cup water
  • 4 ounces corn syrup
  • 1 cup sliced kumquats (about 10-12)
Bring water, sugar and corn suryp to a gentle boil.  Add sliced kumquats and gently simmer until kuamquats are translucent, about 20 minutes.  Remove from heat and set aside.


Kumquat Custard Filling:
  • 2 cups milk
  • 1 cup melted vanilla ice cream
  • 1/4 cup cornstarch, heaping
  • 1/8 teaspoon salt
  • 4 egg yolks
  • 7 ounces sweetened condensed milk (1/2 can)
  • 1/2 cup kumquat syrup (from your candied kumquats)
 Add milk, sugar, cornstarch, salt, and egg yolks, (in that order) to blender. Blend 5 seconds and pour into 2-quart glass microwave-safe bowl. Microwave 6 minutes on HIGH, whisking until smooth after 3 minutes, then every minute thereafter.  Add butter and vanilla and whisk until smooth.


To Put It All Together:

In cooled tart shell, pour and smooth out kumquat custard filling.  Arrange candied sliced kumquats on top of the custard in a pretty design.  Chill overnight or at least for several hours.  


  • In a non reactive saucepan bring to a boil the sugar, water and glucose.
  • Slice the kumquats crosswise in 2 mm thick slices.
  • Add the sliced kumquats to the boiling syrup and turn to simmer.
  • Simmer on low for approximately 30 minutes or until tender.
  • Allow to cool and store in a refrigerato
  • - See more at: http://www.chefeddy.com/2012/01/candied-kumquats/#sthash.Aj5bEGe1.dpuf


  • In a non reactive saucepan bring to a boil the sugar, water and glucose.
  • Slice the kumquats crosswise in 2 mm thick slices.
  • Add the sliced kumquats to the boiling syrup and turn to simmer.
  • Simmer on low for approximately 30 minutes or until tender.
  • Allow to cool and store in a refrigerator.
  • - See more at: http://www.chefeddy.com/2012/01/candied-kumquats/#sthash.Aj5bEGe1.dp


  • In a non reactive saucepan bring to a boil the sugar, water and glucose.
  • Slice the kumquats crosswise in 2 mm thick slices.
  • Add the sliced kumquats to the boiling syrup and turn to simmer.
  • Simmer on low for approximately 30 minutes or until tender.
  • Allow to cool and store in a refrigerato
  • - See more at: http://www.chefeddy.com/2012/01/candied-kumquats/#sthash.Aj5bEGe1.dpuf

    Feb 26, 2014

    Banana Cake with Cream Cheese Frosting

    Have you ever had those bananas that sit patiently on your counter, just waiting to be eaten?  As the days go by, they get more and more ripe.  When the point comes that they are just a wee bit too ripe to eat, don't throw them out!  Make this banana cake instead.

    It is moist, flavorful and is covered in an absolutely delicious cream cheese frosting. It has the addition of some apple butter, which healthfully moistens the cake as well as giving it some extra flavor. 

    Note: if you don't want your cake to be this thick, you could spread the batter into a 10 x 15 cookie sheet, too.  But you might want to double the frosting!


    Banana Cake with Cream Cheese Frosting

     Cake
    • 2 cups all-purpose flour
    • 1 teaspoon baking soda
    • ½ teaspoon salt
    • 1⅓ cups granulated sugar
    • 1/3 cup vegetable oil
    • 2 eggs
    • 3 ripe bananas, mashed
    • 2 teaspoons vanilla extract
    • 1/2 cup buttermilk
    • 1/4 cup sour cream
    • 2 tablespoons apple butter 

    Frosting 
    • 8 ounces cream cheese, at room temperature
    • ½ cup unsalted butter, at room temperature
    • Pinch salt
    • 4 cups powdered sugar
    • 1½ teaspoons vanilla extract

    To make the cake, preheat oven to 375 degrees F. Lightly grease a 9x13-inch baking pan; set aside.  In a medium bowl, whisk together the flour, baking soda and salt; set aside.  Using an electric mixer, beat the sugar and oil together on medium speed until completely combined. Add both eggs and beat to combine, then add the mashed bananas, apple butter and vanilla extract and beat until combined. Reduce the speed to low and add the flour mixture in three additions, alternating with the buttermilk, mixing until combined.  Pour into the prepared pan.

    Bake for 30 to 35 minutes, or until the top is golden brown and a thin knife inserted into the center comes out clean. Set on a wire rack to cool completely.

    To make the frosting, with an electric mixer, cream together the cream cheese, butter and salt on medium speed.  Reduce the speed to medium-low and gradually add the powdered sugar until it has all been combined.  Add the vanilla extract, increase the speed to medium-high and beat until light and fluffy.

    Spread the frosting over the cooled cake, cut into squares and serve.

    Feb 25, 2014

    Green Bean Casserole - Revisited - (And a Delicious Mushroom Soup Recipe)

    Do you remember that old Thanksgiving or potluck stand-by, green bean casserole?  Most people I talk to shudder a bit when they recall year after year of eating the same old limp green bean and soggy mushroom casserole.

    Enter Alton Brown.  He as a recipe that I have just fallen in love with, and calls it "Not Your Mama's Green Bean Casserole."  The name says it all.

    The recipe calls for fresh green beans that have such a nice bite to them, makes a homemade cream of mushroom soup (not like anything you have ever tasted!), and homemade french onion topping.  Yes, I know it sounds like a bit of work - but trust me - it is all worth it. 

    Note: if you don't have a lot of extra time, skip making the onion topping and just use a can of French's onions.  The onions were my least favorite part of this casserole...  But the cream of mushroom soup is a must - as in, make a double batch to ensure there is enough soup left to make it into the casserole - the soup would make a fantastic supper with a slice of crunchy french bread and a bowl of fruit. 


    Not Your Mama's Green Bean Casserole


    Topping
    • 2 medium onions, thinly sliced
    • 1/4 cup all-purpose flour
    • 2 tablespoons panko bread crumbs
    • 1 teaspoon kosher salt
    • Nonstick spray
    Beans
    • 1 pound fresh green beans, rinsed and trimmed
    • 1 gallon water
    • 2 tablespoons kosher salt
    Cream of Mushroom soup
    • 2 tablespoons unsalted butter
    • 12 ounces mushrooms, trimmed and cut into 1/2-inch pieces
    • 1 teaspoon kosher salt
    • 1/2 teaspoon freshly ground black pepper
    • 2 cloves garlic, minced
    • 1/4 teaspoon freshly ground nutmeg
    • 2 tablespoons all-purpose flour
    • 1 cup chicken broth
    • 1 cup half-and-half

    Preheat the oven to 475 degrees F.

    Combine the onions, flour, panko and salt in a large mixing bowl and toss to combine. Coat a sheet pan with nonstick spray and evenly spread the onions on the pan. Bake in the oven until golden brown, tossing every 10 minutes, for approximately 30 minutes. Once done, remove from the oven and set aside until ready to use.

    Turn the oven down to 400 degrees F.

    While the onions are cooking, prepare the beans. Bring a gallon of water and 2 tablespoons of salt to a boil in an 8-quart saucepan. Blanch for 5 minutes. Drain in a colander and immediately plunge the beans into a large bowl of ice water to stop the cooking. Drain and set aside.

    Melt the butter in a 12-inch cast iron skillet set over medium-high heat. Add the mushrooms, salt and pepper and cook, stirring occasionally, until the mushrooms begin to give up some of their liquid, approximately 4 to 5 minutes. Add the garlic and nutmeg and continue to cook for another 1 to 2 minutes. Sprinkle the flour over the mixture and stir to combine. Cook for 1 minute. Add the broth and simmer for 1 minute. Add the half-and-half and cook until the mixture thickens, approximately 6 to 8 minutes.

    Remove from the heat and stir in 1/4 of the onions and all of the green beans. Top with the remaining onions. Place into the oven and bake until bubbly, approximately 15 minutes. Remove and serve immediately.